You can start flowers–both annuals and perennials–from seed. Starting plants from seed is less expensive than purchasing plants from a garden center.
Seed starting will require some time and effort but can be very rewarding. Many more varieties of flowers are available in seed than are offered at garden centers or nurseries.
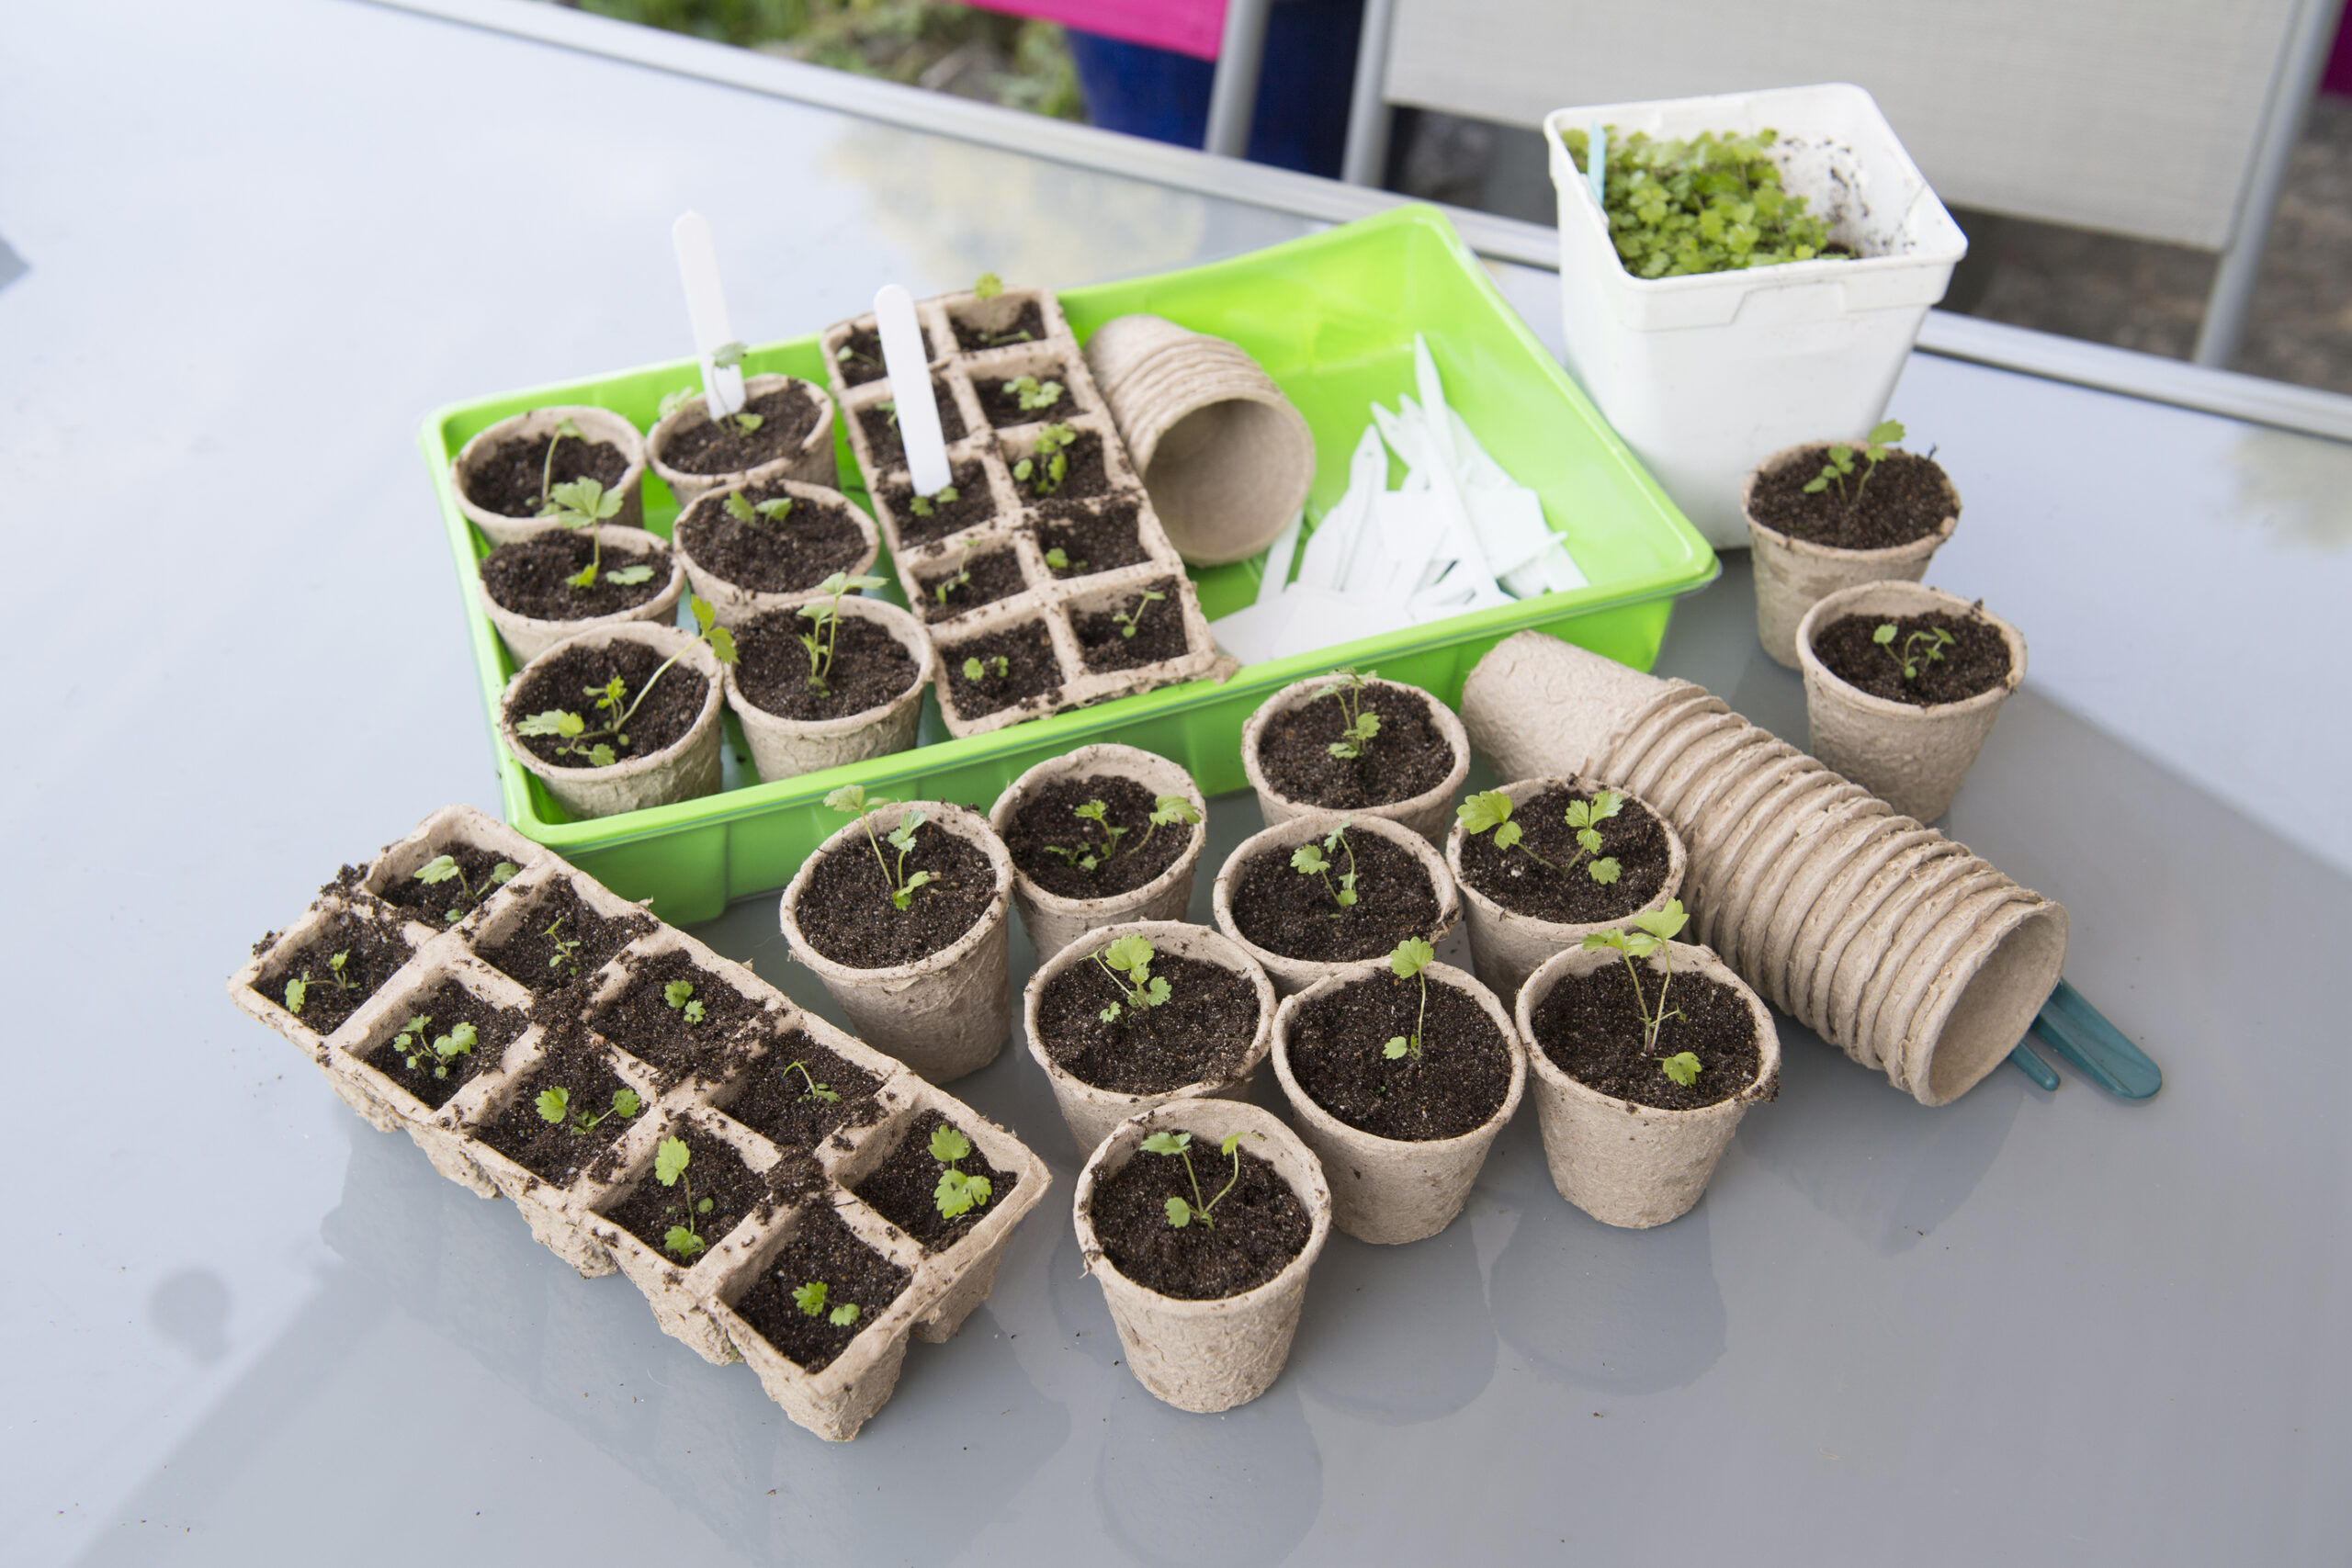
Seed starting in containers
Planting seeds directly in the garden can sometimes be risky. An unexpected frost or cold spell, a rainstorm, or hot drying winds can reduce germination or wipe out seedlings. Starting seeds in containers indoors and growing them under controlled conditions into robust seedlings can reduce the risk.
Good Products for Seed Starting Success at Amazon:
- Jump Start Germination Station w/Heat Mat Tray, 72-Cell Pack, Dome
- Espoma Seed Starting Mix
- 200 Count- Jiffy 7 Peat Soil Seed Starting Plugs
- Seed Starter Kit with Humidity Dome (120 Cells Total Tray)
- AgrobriteT5 Fluorescent, 2-Foot, Grow Light System
Basic steps for starting seeds indoors
Step 1. Fill a small container with moist seed starting mix. Sow seeds in four or six-cell plastic packs or in 3- or 4-inch peat pots or individual bio-containers for plants that grow quickly. Fill each cell or container nearly to the top with moist seed starting mix. Place one to three seeds in each cell or container. Wet each seed cell with water from a household spray bottle and set the pots in a warm part of the house under fluorescent lights. Place pots or trays in clear plastic bags to create a mini-greenhouse. If you want to spend more, you can purchase a seed starting system at a garden center or online.
Step 2. When seeds germinate, place the containers under fluorescent light for 12 to 16 hours a day. Make sure the seed starting mix stays moist but is not overly wet. When containers dry out set them in a shallow tray filled with water so the starting mix absorbs water from the bottom. Bottom watering will encourage deep rooting and strong plants. Remember to remove the container from the water tray and allow the soil to drain each day. Feed seedlings once a week with a soluble fertilizer diluted to half or one-quarter ordinary rate. Raise the lights as the plants grow to keep the tubes about 2 inches above the top of the leaves.
Step 3. When seedlings grow to 2 or 3 inches tall and develop their first true leaves (which are actually the second set of leaves–the first is embryonic “seed leaves”)–transplant them to individual containers. Use 4-inch plastic or peat pots to grow your seedlings on. Fill the pots with fresh, moistened potting soil. Take each seedling gently by a leaf and lift it gently out of its starting container with a spoon or sharpened pencil or narrow plant label stick. Be careful not to disturb the roots and surrounding soil. Poke a hole in the soil of the new container, insert the seedling, and firm the soil around the roots. Place the newly transplanted seedling in its individual container under the light again, and water and feed as before.
Easiest flowers to start from seed
| Common Name | Botanical Name | Zone |
| Black-eyed Susan | Rudbeckia spp. | 3-10 |
| Celosia | Celosia spp. | Annual |
| Coneflower, purple | Echinacea purpurea | 3-9 |
| Cornflower, annual | Centaurea cyanus | Annual |
| Cosmos | Cosmos spp. | Annual |
| Hollyhock | Alcea rosea | 3-11 |
| Marigold | Tagetes spp. | Annual |
| Morning glory | Ipomea tricolor | Annual |
| Pansy | Viola spp. | Annual |
| Shasta daisy | Leucanthemum x superbum | 4-9 |
| Snapdragon | Antirrhinum majus | Annual |
| Sunflower, annual | Helianthus annuus | Annual |
| Sweet pea | Lathyrus odoratus | Annual |
| Yarrow | Achillea spp. | 3-9 |
| Zinnia | Zinnia spp. | Annual |
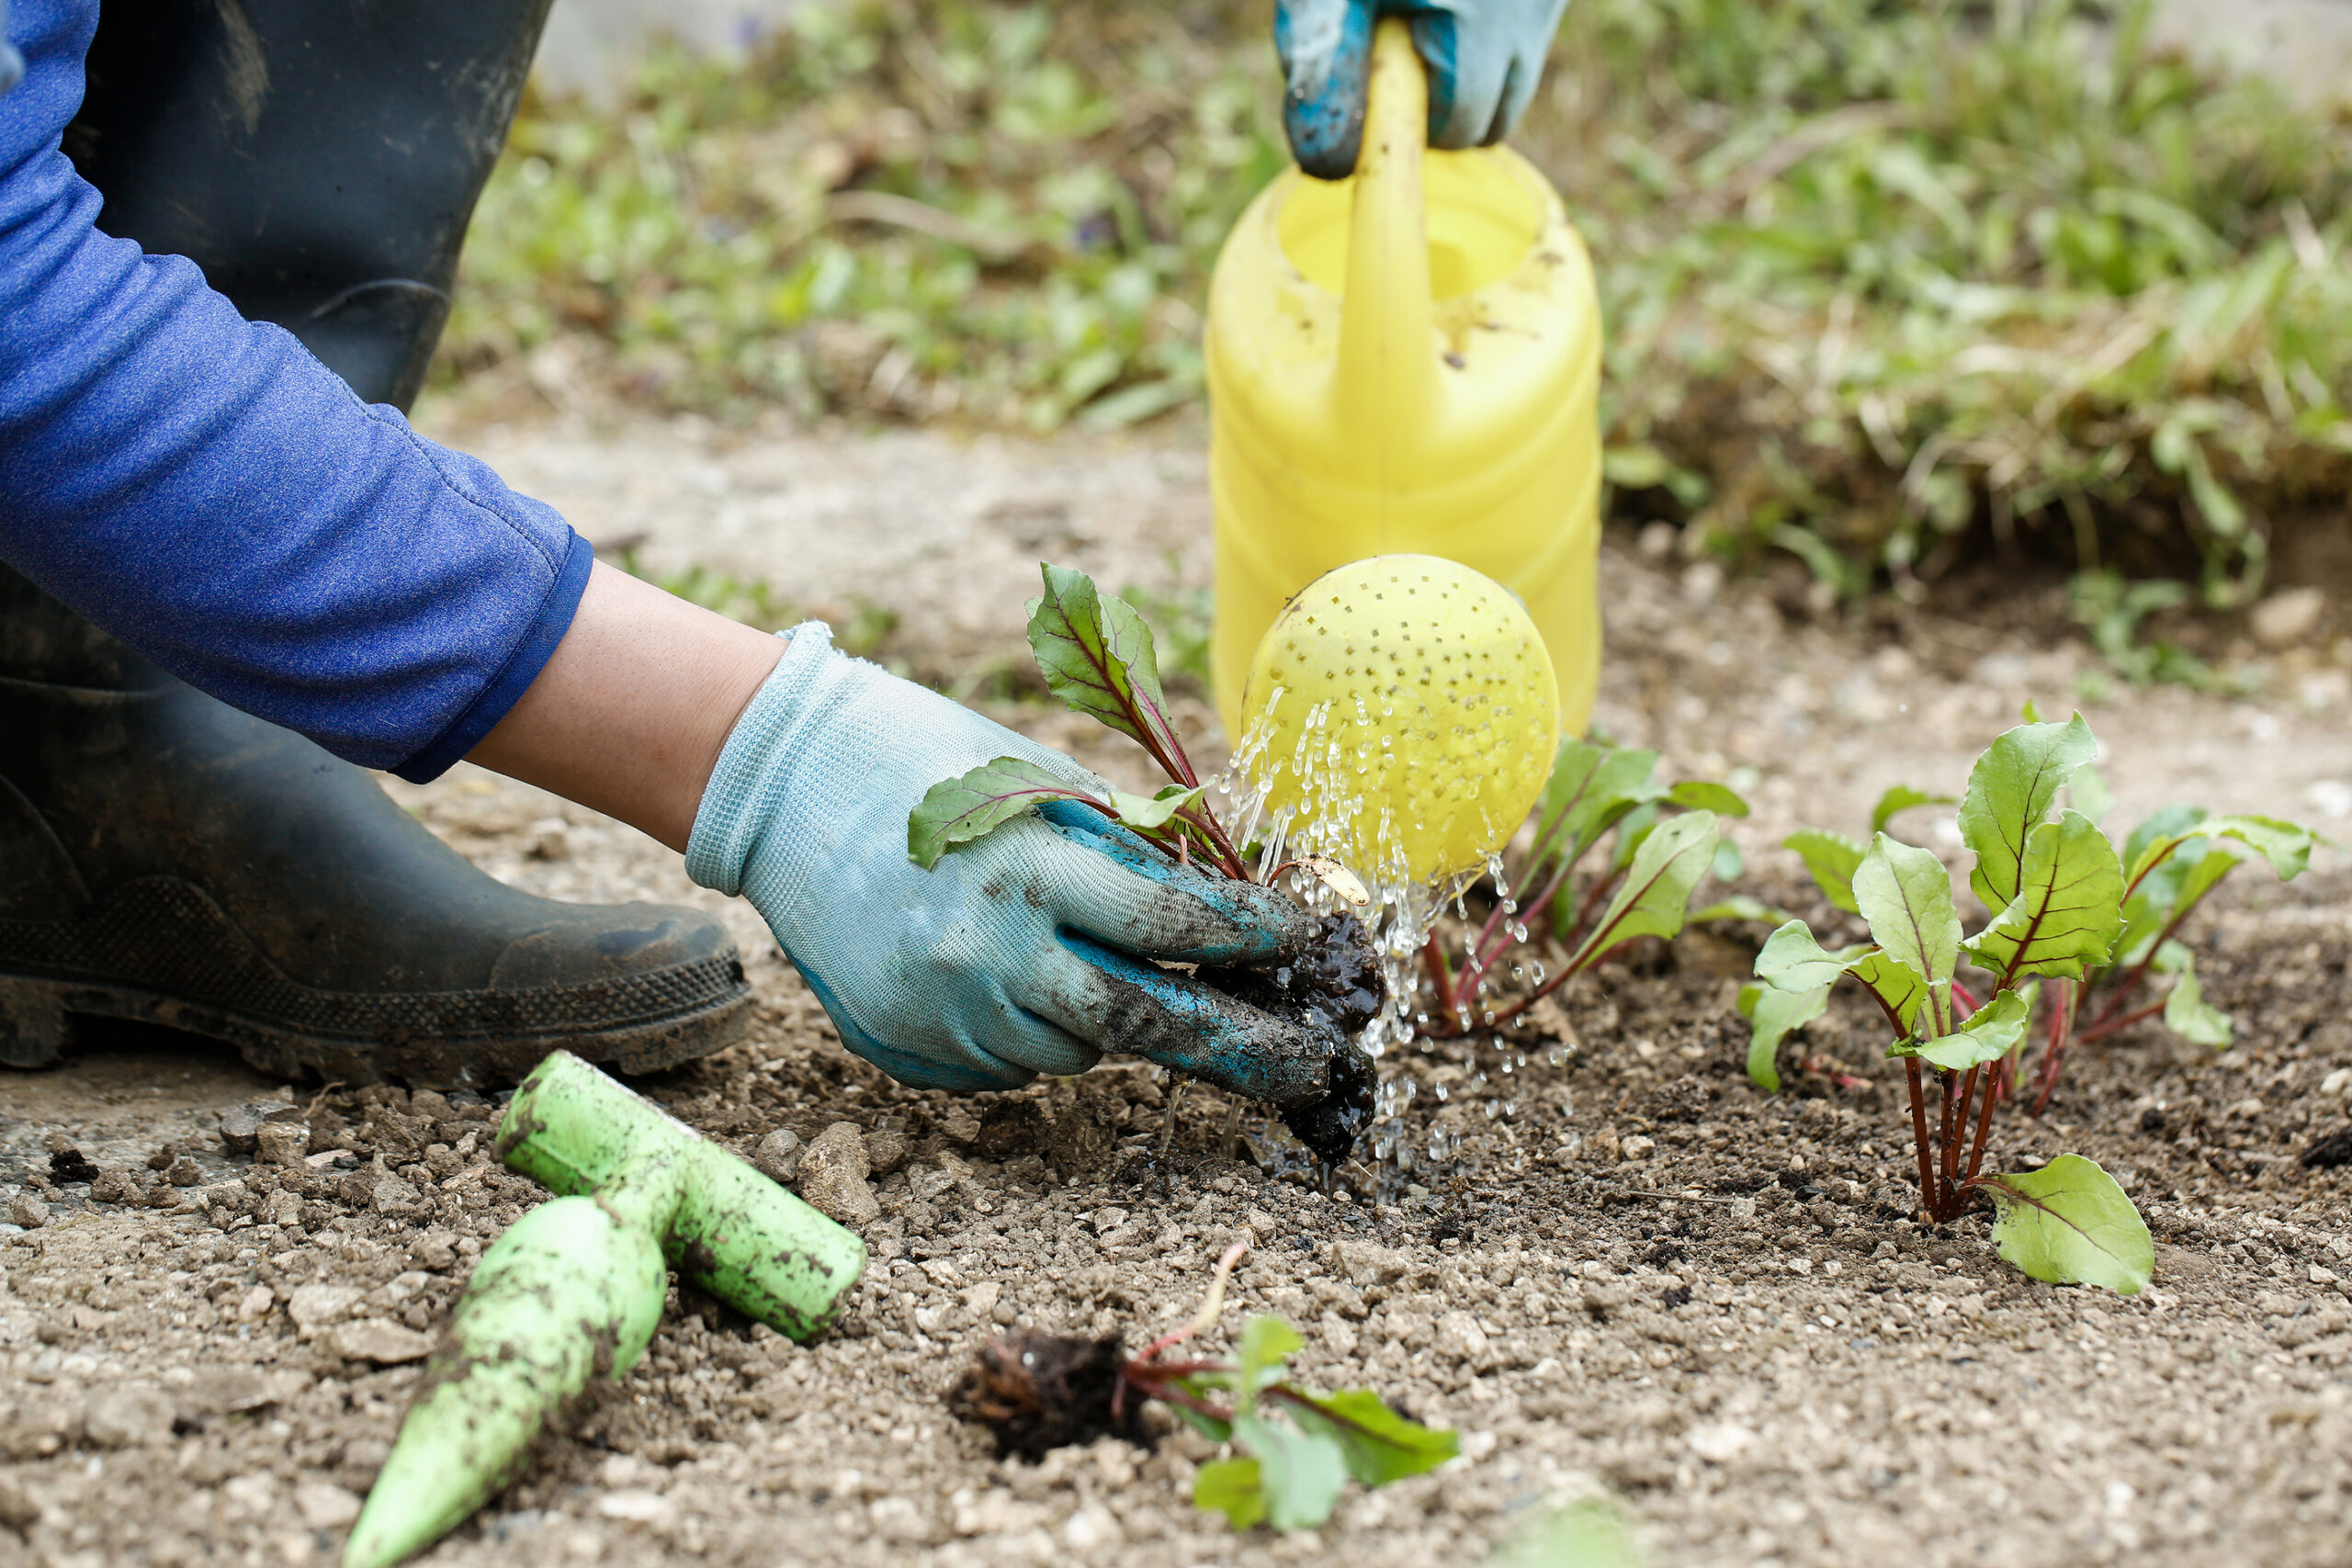
Transplanting seedlings to the garden
When all danger of frost is past in spring and seedlings are 4 to 6 inches tall, transplant the seedlings into the garden. Before you do, be sure to “harden off” or acclimatize the seedlings to the conditions outdoors. Begin this process by placing the seedlings in an outdoor spot protected from sunlight and wind for a few hours each day increasing to full exposure over several days. In a week or so, the seedlings will be ready for transplanting into the garden.
Planting indoor-grown seedlings in the garden are the same as planting container-grown plants from the garden center. Space plants in the garden according to their size at maturity. Check seed packets or growing guides for proper spacing. Annual flowers and perennials spaced too closely at transplanting will fill in more quickly but will become ungainly and unhealthy as they mature and become overcrowded.
Basic steps for transplanting seedlings
Step 1: Before transplanting, water plants in containers. The soil should be moist but not soggy. When you have prepared your plant’s new home in the garden, slip the plant and root ball from the pot trying not to disturb the root ball. Gently loosen congested roots on the bottom and lower side of the root ball. Massage apart and separate the roots that encircle the ball.
Step 2: Place the plant into a hole that is slightly larger than the root ball and deep enough to position the top of the root ball at the soil level. Fill the hole about halfway with the soil and moisten the root ball. Add the remaining soil, firming it gently around the base of the stem. Water is essential for new transplants. If nature does not oblige, provide 1 inch of water per week for the full growing season–even for drought-tolerant plants. Check watering requirements for each plant you plant. Some require more water early in the season; some require more water later.
Step 3: Once seedlings are set in the garden, side-dress the new plantings with aged compost. Sprinkle aged compost around each plant. This will both feed the new plants and also conserve soil moisture. Remove any weeds that appear; weeds compete with vegetables and herbs for nutrients and moisture.
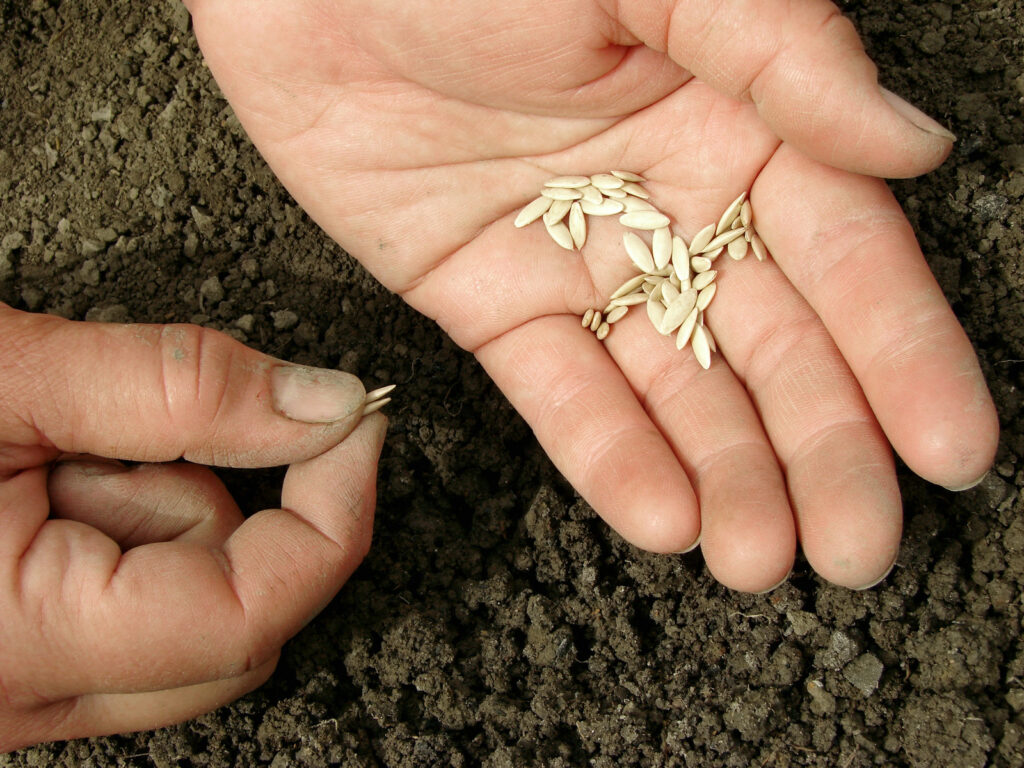
Direct sowing seeds in the garden
Some annuals and perennials can be directly sown where they will grow in the garden. Seed packets will give you basic information on planting–when, how, deep, and how long until germination.
Step 1: Prepare the planting beds in advance of seed sowing. Add several inches of aged compost and aged manure across the top of the planting bed. Next, turn the soil with a spade to a depth of 8 to 10 inches; this will aerate and loosen the soil. Next, remove rocks and roots and then rake the planting bed smooth. (To learn more about your soil and what you need to improve it, call the nearby Cooperative Extension Service.)
Step 2: Sow seeds following the planting directions on the seed packets. For most flowers, sow 3 to 5 seeds in the spot where you want to grow a single plant (later, you will thin to the strongest seedling). Cover the seed with a fine layer of soil or compost as recommended on the packet and water gently and thoroughly. Keep the planting bed just moist until seeds germinate.
Step 3: When garden-sown plants have formed their first true leaves, thin plants to the recommended spacing and continue to water regularly. A layer of garden compost or straw around plants or a covering of light horticultural fabric can help conserve moisture.
Annual flowers to start outdoors from seed
| Common Name | Botanical Name |
| Cornflower, annual | Centaurea cyanus |
| Cosmos | Cosmos spp. |
| Larkspur | Consolida ambigua |
| Marigold | Tagetes |
| Moonflower | Ipomea alba |
| Morning Glory | Ipomea tricolor |
| Poppies, annual types | Papaver spp. |
| Sunflower | Helianthus annuus |
| Zinnia | Zinnia elegans |
Seed sowing tips
Here are a few seed-sowing tips:
- Seeds of hardy plants may be sown earlier in spring in wetter ground and deeper than those of tender plants.
- Strongly viable and fresh seeds may be sown more deeply than weak and old seeds.
- In spring when the soil is damp, the soil should be firmed but lightly over the seed, if at all.
- In summer when the ground is dry, the soil must be packed hard to permit the rise of moisture from the subsoil.
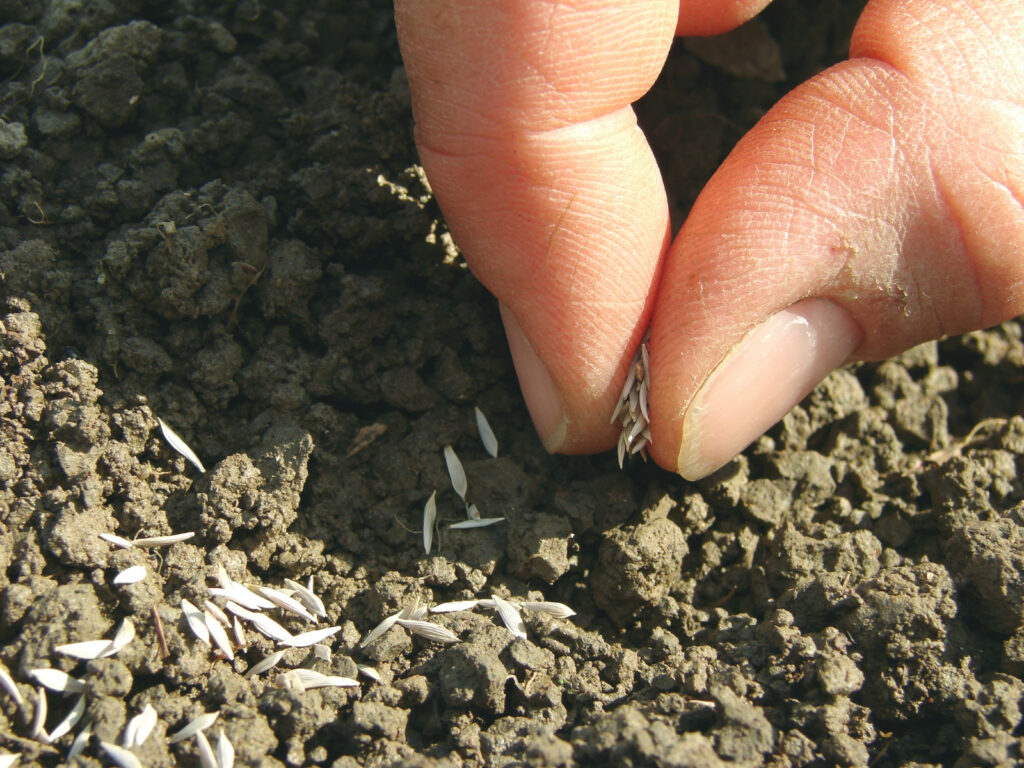
- Seeds of large size may be sown deeper than small ones, especially if the ground is dry.
- Sow seed 2 to 4 times the diameter of the seed, but merely press very small seeds into the surface, allowing subsequent sprinkling to cover them.
- Too deep sowing reduces the supply of oxygen necessary for germination and makes it hard for seedlings to reach the surface.
- It is usually best to sow seeds more thinly than the seed packet suggests. This avoids crowing the seedling and making them spindly and weak.
- It is essential to prick out or transplant the seedlings before they begin to crowd.
- It’s best to transplant on a cloudy day or in the evening or just before the rain.
- The soil in which seeds are sown should be freshly sifted or dug and finely raked so as to be porous while still retaining enough moisture to favor germination.
- Always firm the soil over the seed to bring them in contact with the moisture firm that envelops the soil particles.
- The time and depth to sow seed out of doors are influenced by the moisture in the soil and the temperature there. Seeds sown deeply in moist soil in early spring often decay because even though the air is mild, evaporation of soil water keeps the soil too cold for them.
- Seeds sown too shallowly in summer, especially if the soil is not packed firmly around them, find so little moisture to absorb that they remain practically dry and fail to sprout. Hence early spring sowing should be much shallower than late spring and summer sowing of the same kind of seed.
- Seed starting mixes used for indoor seed starting should be only moderately fertile—poor is better than rich—because this will stimulate root rather than top development and facilitate transplanting later.
How seeds germinate
Factors essential to germination are viable seed, moisture, air, and a favorable temperature.
Here’s how seeds germinate: the seed absorbs water which enables enzymes in the seed to convert stored starches into sugars; sugars help trigger the growth of plant cells; this increases the size of the embryo which bursts through the water-softened seed coats, and a seedling is started on its way.
Seed sprouting is not the first step in plant growth, it is the resumption of activity by the dormant young plant in the seed.
The life of a seed begins with the fertilization of a flower’s ovules by pollen produced in the stamens of the same or some other plant. Seeds are fertilized, ripened ovules or “eggs” of flowering plants. (Each seed contains a rudimentary plant, the embryo.)
Most seeds do not sprout as soon as they mature. Most remain dormant for what is called a “rest period” which can vary in length from weeks to years. Seed dormancy is related to the chemical changes needed within the seed for the “ripening’ of the foods stored in the seed. Some flower seeds such as lilies and sunflowers will start to grow a few days after planting. Others require a month and for many species of shrubs and trees and for some perennials the rest period often exceeds a year.
Garden seeds keep best in dry and cool conditions. Seeds properly stored should retain their vitality for the maximum time characteristic for that species.
Also of interest: