
Raised beds allow you to grow plants above the natural garden soil. A raised bed is commonly filled with planting mix or potting soil–soils that are often better than the natural soil. Where the ground is constantly wet, rocky, clay, or sand, a raised bed may be the best option for growing plants.
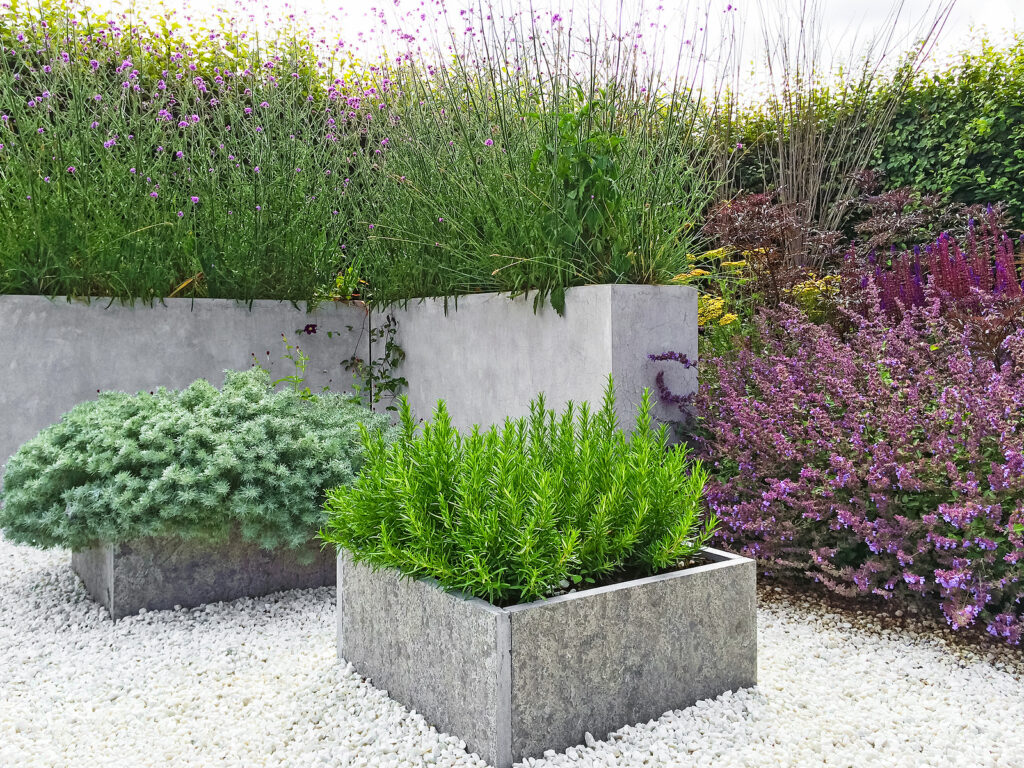
Raised beds are commonly constructed from lumber, but you can also make a raised bed from cinderblocks, rocks and stones, masonry, concrete, stock tanks, and steel. Any material that can be formed to hold soil can be used to create a raised bed.
A raised bed is essentially a bottomless box—usually a square or a rectangle—that is open to the ground below and the sun and sky above. It is open below to allow water to drain through; if the raised bed has a bottom, there should be holes for drainage.
What you can grow in a raised bed
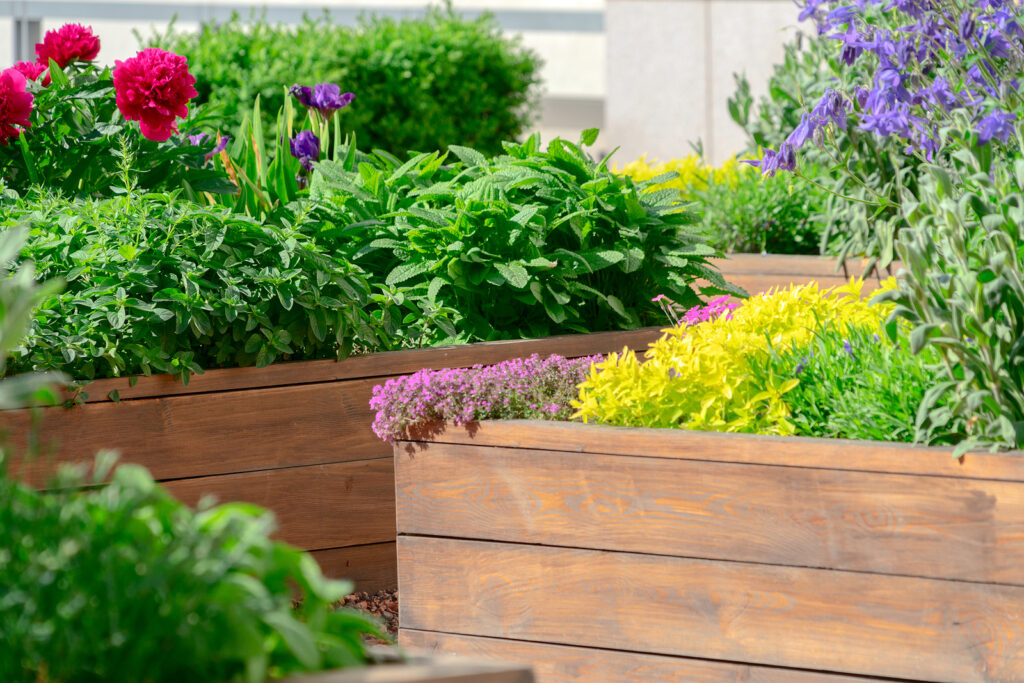
You can grow annual and perennial flowers, bulbs, shrubs, vegetables, and herbs in a raised bed. The only constraint on growing in a raised bed is the depth of soil available for plant roots. A tree can grow in a raised bed if the bed is deep enough for tree roots.
Shrubs will need at least 18 to 24 inches of good soil to grow, more is better. Perennials will need 18 inches or more, annuals will need 12 inches or more. The deeper the raised bed, the larger the plant that can take root and thrive in the bed.
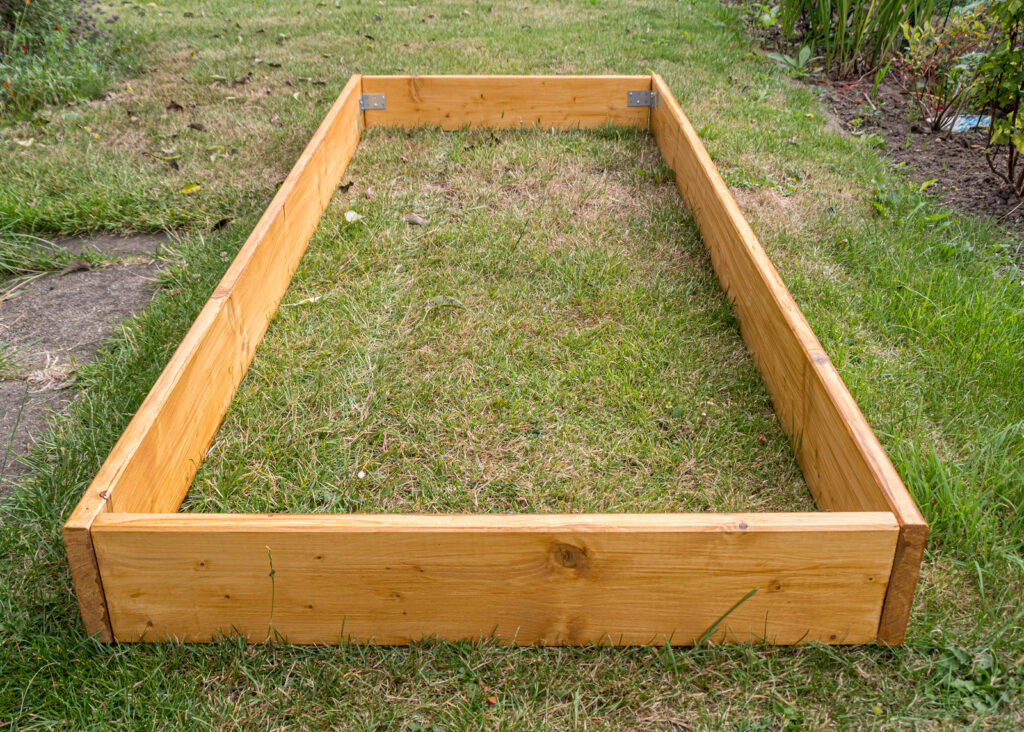
How to make a wooden raised bed
You can make a wood-framed raised bed from pine, spruce, cedar, redwood, or composite wood. (Of course, you can use any of the materials mentioned above, but for the purpose of explaining how a raised bed is constructed, we will use wood here.)
To make a wood-framed raised bed you will need enough wood to complete the box, screws or nails, a measuring tape, a saw, and a hammer or drill. A woodworker’s square and a pencil also will help you make accurate cuts and angles when putting your raised bed together.
The wood will be your greatest expense. A 4’x8’ raised bed using lumber 1” thick and 10” wide could cost you as little as $60 using new pine wood and as much as $200 using rot-resistant composite wood.
Wood that is more rot-resistant than another will be more expensive than a wood that is less rot resistant. Depending on the rot-resistance of the wood you choose, your raised bed should easily last from 3 to 20 years. You can save money by using re-cycled wood. But you should never use wood that been treated with chemicals or painted—especially if your raised bed is being used to grow crops that you will eat.
Lumber for a raised bed
The cost of the lumber will be determined by the thickness, width, and length of each piece. Make your raised bed from lumber that is either 1-inch or 2-inches thick; a piece of lumber that is 2 inches thick will withstand more wear than a piece of lumber that is 1 inch thick; it will also be more expensive. Standard widths of lumber are 2-, 4-, 6-, 8-, 10-, 12-inches. Commonly raised beds are constructed from lumber that is between 6- and 12-inches wide. Standard lengths of lumber are 6, 8, 10, 12, 14, 16, 18, 20, 22, and 24 feet.
Take a plan that includes the length and width of the raised bed you want to build to the retailer and ask for lumber that will require you to make the fewest cuts to build the bed you want. The lumber yard may make each cut you need—usually for an extra fee.
You will also need screws or nails to put your raised bed together. Show your retailer you rough raised bed plan and ask for help purchasing galvanized screws or nails. Galvanized metal will be the most weather resistant.
Best size of a raised bed
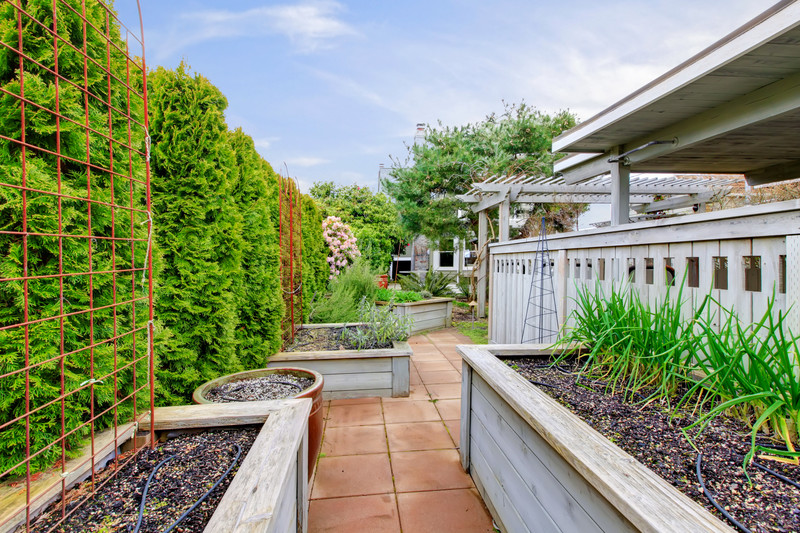
A wood-framed raised bed can be any width and length that you want it to be. But a raised bed that is a width that allows you to easily reach the plants you are growing without stepping into the bed and that is not so long that it becomes a chore to walk around is best.
A very useable raised bed for a vegetable garden would be 2-, 3-, or 4-feet wide and 4-, 6-, 8-, 10-, or 12-feet long. You can have several raised beds of differing sizes in your garden.
Best wood for a raised bed
If you buying new wood, choose a wood that is sustainably grown—that means wood that meets the needs of the present without compromising the ability of future generations to meet their own needs. Ask at the lumber yard or retailer where the lumber they sell comes from and how it is grown.
Here the kinds of lumber most commonly sold—from least expensive to most expensive:
- Pine is the most affordable and will last between 3 and 7 years. Price: $8 per 2”x10”x8’ piece
- Spruce is a more durable type of pine. Price: $9 per 2”x10”x8’
- Cedar is naturally rot- and insect-resistant and long-lasting. Price: $4 per 1”x4”x6’ piece; $9 per 1”x6”x10’
- Redwood is naturally rot- and insect-resistant, but expensive. Price: $6 per foot, usually just 1” thick
- Composite wood is made from recycled plastic and wood fibers and is very long-lasting. Price: $16 per 4 feet.
Building a 4’x8’ raised bed step-by-step
Using cedar this bed should last more than 10 years.
For long-term strength, this bed uses 4”x4” corner posts sunk 6” into the ground; these posts are set at each of the four inside corners. For even greater stability, you can place posts halfway along the side walls. Posts help hold the bed in place and will reduce the outward pressure that soil will exert on the frame.
Supplies:
- One 6-foot-long 4-by-4 ($20)
- Four 12-foot-long 2-by-6s ($100)
- 32 3½-inch #14 wood screws ($20)
You will build each side of the bed separately, then fasten them together and put the bed into position.
1. With a hand, table, or power saw, make cuts on each 12’ piece at 4’. You now have four 8’ and four 4’ planks. Also, cut the 4×4” into four 16-inch-tall corner posts.
2. Build the bed upside down. Assemble pieces on a hard, flat surface. Set one 4-foot 2-by-6 on its thin edge on the pavement, and place a 16-inch corner post at one end. Secure post with two 3½-inch galvanized screws. Repeat at the other end of the board. Repeat with one other short board. (Instead of 4”x4” corner posts, you can attach lengths of lumber with metal angle-brackets or 2”x4” pieces of lumber.)
3. Join short sides with an 8-foot board and secure with two or three screws. (You will need at least 32 3½-inch #14 wood screws You may want to drill pilot or starter holes for the screws in advance.) Add another long side. You know have your frame.
4. Add the second layer of 2-by-6s.
5. Flip the bed right side up; you will need the help of a friend. This is a heavy and heavy-duty frame.
6. Move the frame to its permanent location where the soil has been leveled in advance; use a steel rake to even out the ground where you are placing the frame.
7. Mark with a trowel the position for each corner post. Move the bed aside; dig a 5- to 6-inch-deep hole for each post. Move the bed back into place, setting the corner posts in the holes; fill soil in around the posts.
8. Use a level, make sure your frame is level in all directions; if the bed is not level, water will run one part of the bed and sit in another. If one side of the frame is high, remove soil beneath that side until the frame is level.
Cap rail for sitting optional: Place a cap railing that you sit on or place tools on around the top of the bed. If you want to sit on the rail, you will need a piece 6 inches wide. Cut the lumber to fit around the top and screw it into place.
Hardware cloth to exclude gophers optional: Hardware cloth lining to keep gophers and moles out: Once the bed is in place, rake the soil at the bottom level and tamp it smooth. Line the bottom of the bed with galvanized hardware cloth; you will need metal shears to trim the cloth and fit it around the bottom corners of the bed.
- Supplies: One 4- by 10-foot roll of ¼-inch-mesh hardware cloth
Soil: 32 cubic feet soil mix; use a combination of topsoil, compost, and potting soil.
Also of interest:
How to Make a New Garden Planting Bed