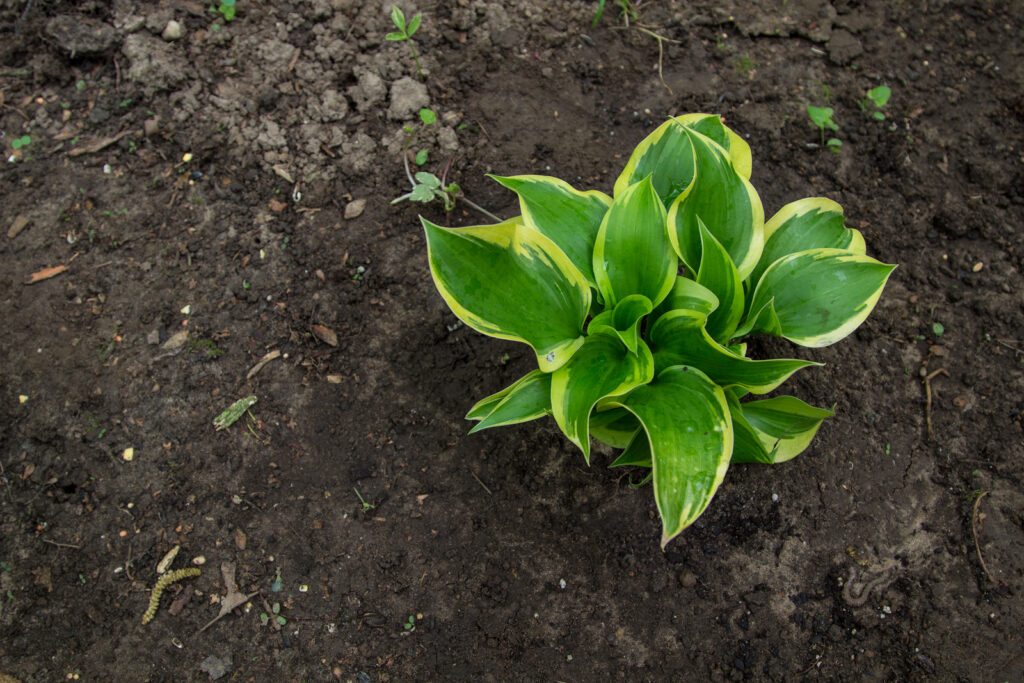
Perennial plants offer an immense variety of shape, form, color, texture, and scent. There are perennials suitable for nearly every garden.
Perennials are herbaceous plants–meaning they are not woody. A perennial commonly lives for 3 to 5 years, some much longer.
Whereas trees and shrubs give structure to garden design, perennials contribute a great deal of beauty. Perennials can be planted alone or in groups; they can be planted with shrubs and annuals in a mixed border; they can be planted with bulbs and vegetables; they can be grown in containers or as a groundcover.
Perennials originate from many regions around the world, regions with varying climatic and soil conditions. It that you select perennials for your garden that can succeed in your climate and in your garden’s soil.
Read plant profiles here or consult with a horticulturist at a nearby nursery to know which perennials are best for your garden.
Where to plant perennials
- Plant perennials in compost-rich loamy soil that is well-drained. If the soil is not well-drained consider amending the soil or planting in a raised bed.
- Check the degree of alkalinity and acidity of the soil before planting; be sure the soil meets the soil pH needs of the perennials you are planting.
- Check sun and shade where you intend to plant and be sure there are 8 hours of full sun or full-sun perennials and at least 4 to 6 hours of dappled sun for partial sun perennials.
Site preparation for perennials
- Clear all weeds from the planting site; be sure perennials weeds are fully uprooted and removed. If the site is very weedy consider solarizing the soil to kill weeds and weed seeds that linger in the soil.
- Soil fertility can be improved by the addition of aged compost and well-rotted manure; these will not only feed the soil but increase soil moisture retention while making the soil better draining. Add 4 inches of aged compost and aged manure and turn it under to a depth of at least 12 inches. Commercial organic planting mix can be used in place of aged compost.
- Moisten the soil and let it settle for a few days before planting.
When to plant perennials
- Container-grown perennials can be planted any time of the year when the soil is workable—usually early spring to autumn in cold-winter regions, and year-round in mild-winter regions.
- Fall planting allows perennials to establish roots while the soil is still warm; when the following spring arrives, plants will be able to support foliage and flower growth.
- In regions where the soil freezes, plant perennials in spring after the soil has warmed and become workable.
- Bare-root perennials are best planted in spring when possible.
- Avoid planting perennials in dry, hot weather and also after heavy rains when the soil is soaked.
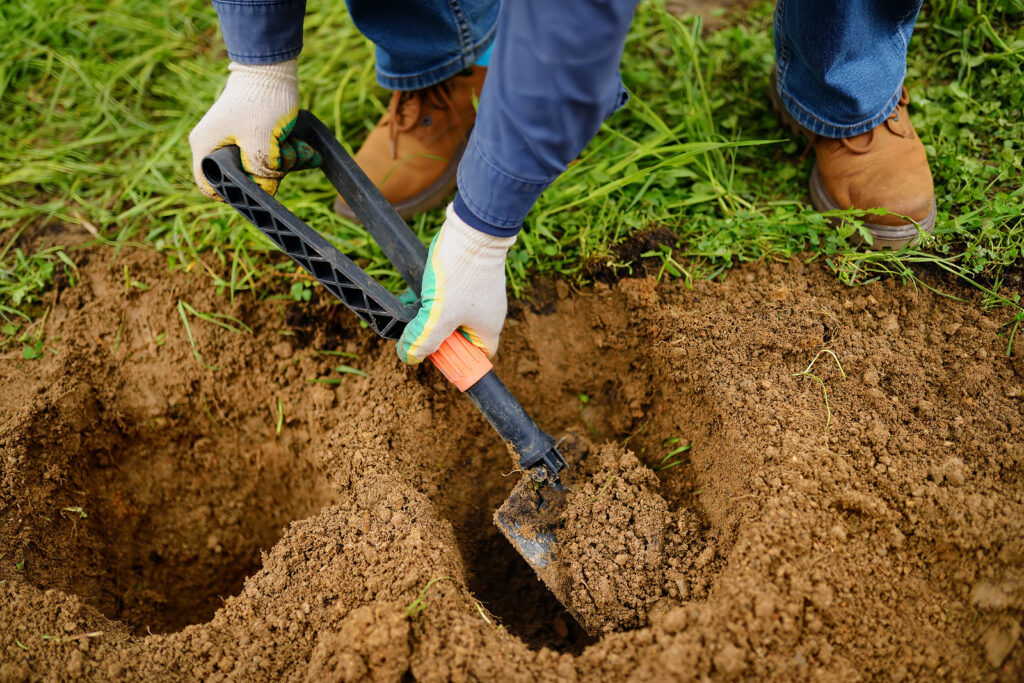
Planting perennials
- Plant perennials in prepared ground (see above).
- Plant perennials where they will get the sun or shade they need and where it is easy to water them in hot weather or drought.
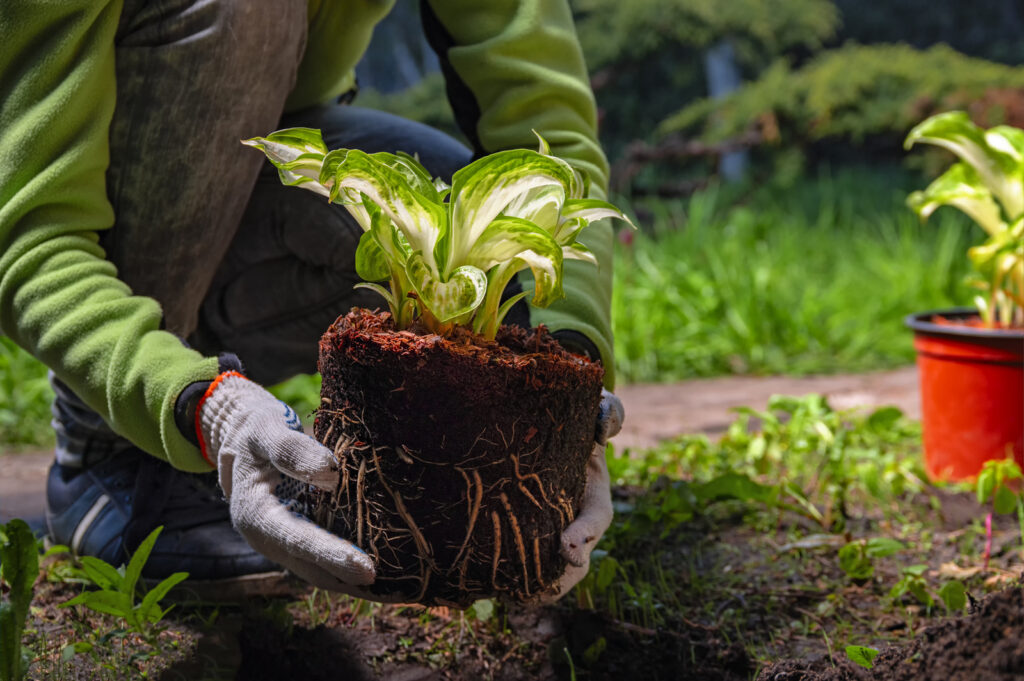
- Dig a hole 1½ times wider and deeper than the plant’s root ball.
- Soak the soil mix in the container before removing the plant.
- Lightly loosen the soil around the root ball and tease the roots out. This very important if the plant is rootbound.
- Healthy roots will be white; dry or dead roots—which are usually brown—should be trimmed away.
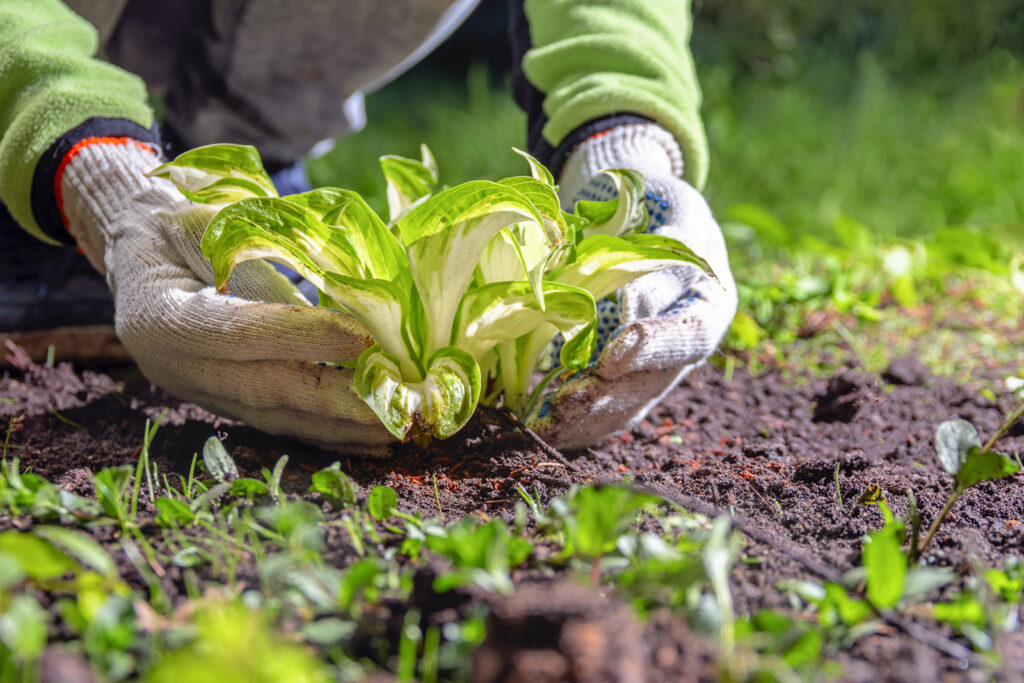
- Set the plant in the hole so that the crown of the plant is level with the surrounding soil.
- Backfill soil in around the root ball and firm it in as you go. You can lightly moisten the soil as you backfill. Press the soil in around the root ball to remove any air pockets.
- Once the perennial is planted, loosen the surrounding soil with a hand fork then water around the plant thoroughly.
After planting care
- Check the plant every day or two for two or three weeks to be sure it is well watered. If the plant is wilted in the morning, the soil is too dry.
- Mulch around the plant to prevent weeds and to conserve soil moisture. Mulch with 1 or 2 inches of aged compost or chopped leaves. Mulch will also keep soil from splashing up on the plant; this will slow the spread of soil-borne disease.
- Fertilize the plant two to three weeks after planting; use a dilute solution of fish emulsion or a slow-release organic fertilizer.
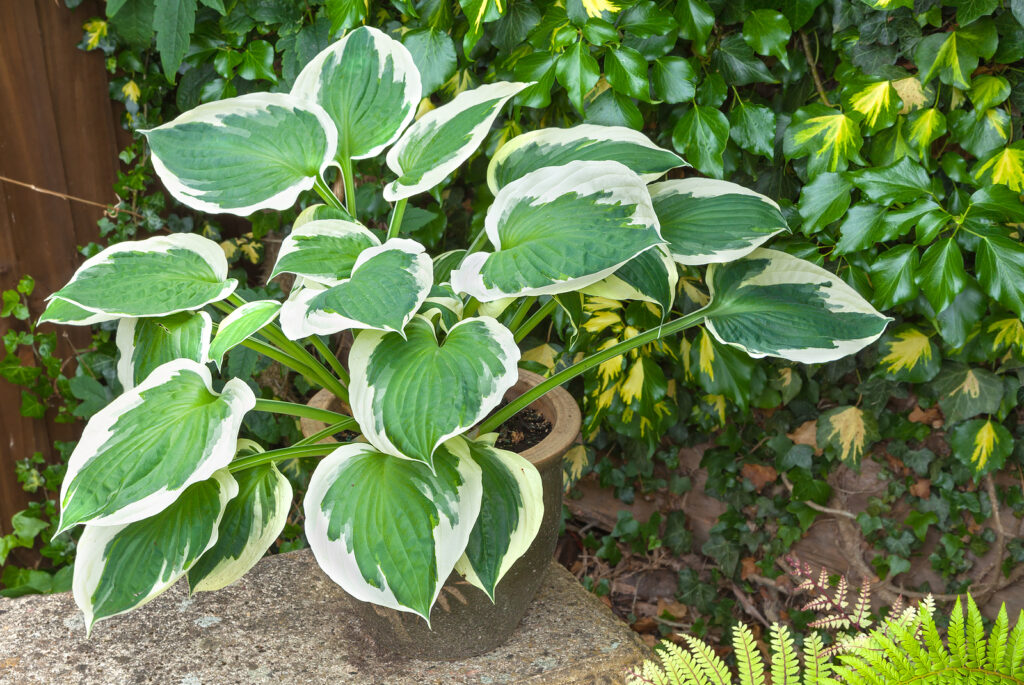
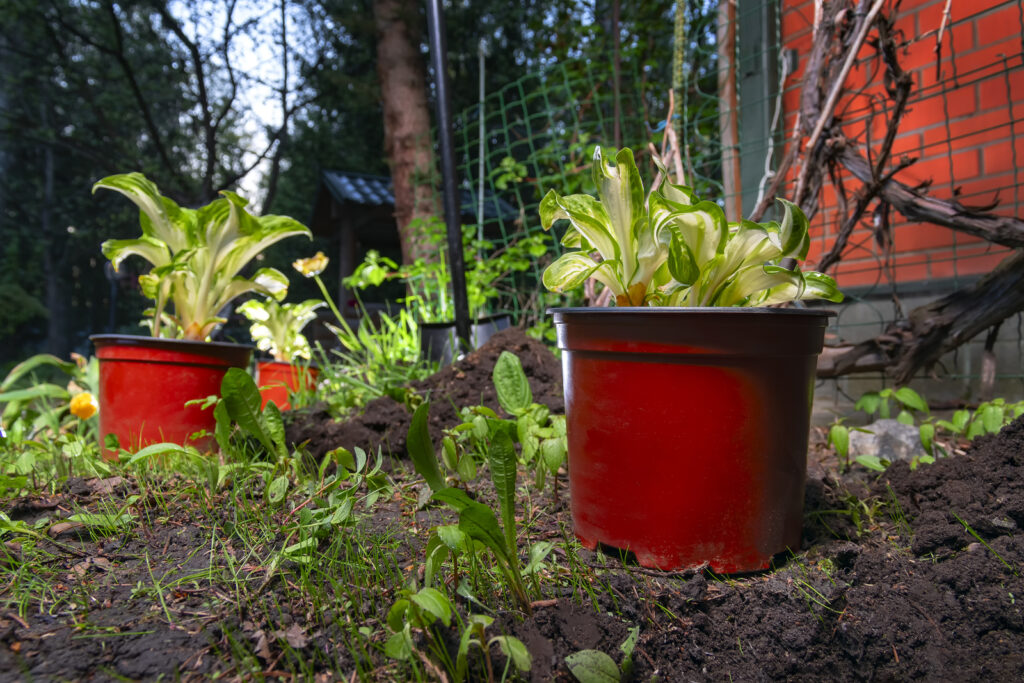
Planting perennials in containers
- Choose a container that is deep enough and wide enough for the plant; a pot slightly bigger than the pot the plant is already in will give it room to grow.
- Make sure the container has drainage holes in the base; cover the holes with pieces of screening to prevent the potting mix from escaping.
- If the container is large and heavy, set it in place ahead of planting. Place pot feet or small blocks under the containers to ensure drainage.
- Use a potting mix suitable for the plant; use an acidic potting mix for acid-loving-plant; use an all-purpose potting mix for most other plants. A potting mix that includes a slow-release fertilizer will feed the plant for 6 months to a year.
- If multiple plants are going in the container, arrange them ahead of planting; make sure they are well spaced, and have enough room to mature without becoming crowded.
- Create a planting hole for the plant and plant as you would in open ground.
- Set the plant in the hole and backfill the potting mix around the root ball. Firm in the soil to remove any air pockets near the roots.
- Water in the plant after planting.
- Keep an eye out for dry soil over the next several weeks. Keep the soil just moist, not wet.