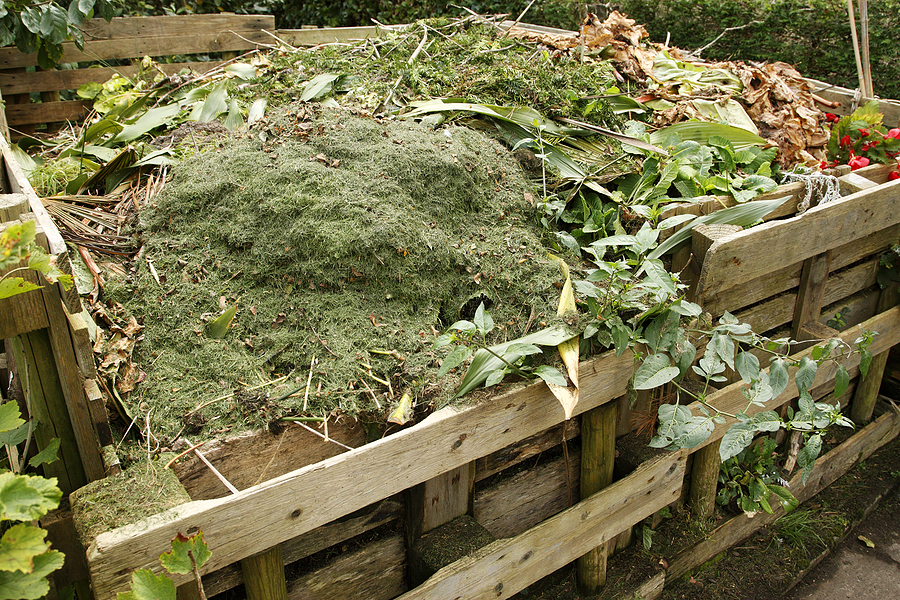
The combination of dead vegetation with air and moisture will result in compost. Composting is natural decomposition. Composting can take place in a simple free-standing heap of garden waste or a homemade wire-mesh container or a commercially made bin.
Where to locate a compost pile
Here are the basics you’ll need to know to start composting at home:
• Site the compost bin or pile in or near the garden where the finished compost will be used or locate a free-standing pile in an area of the garden where you will plant next year
• Choose a site in full sun or light shade that is sheltered from the wind.
• Place the compost bin or pile on bare soil so that excess water can drain away. Till, dig, or turn the soil underneath before you begin to add compost. This will assist drainage and allow macroorganisms such as worms to enter the pile.
• Place the bin or pile so there is ample air circulation on all sides.
Compost bin concepts
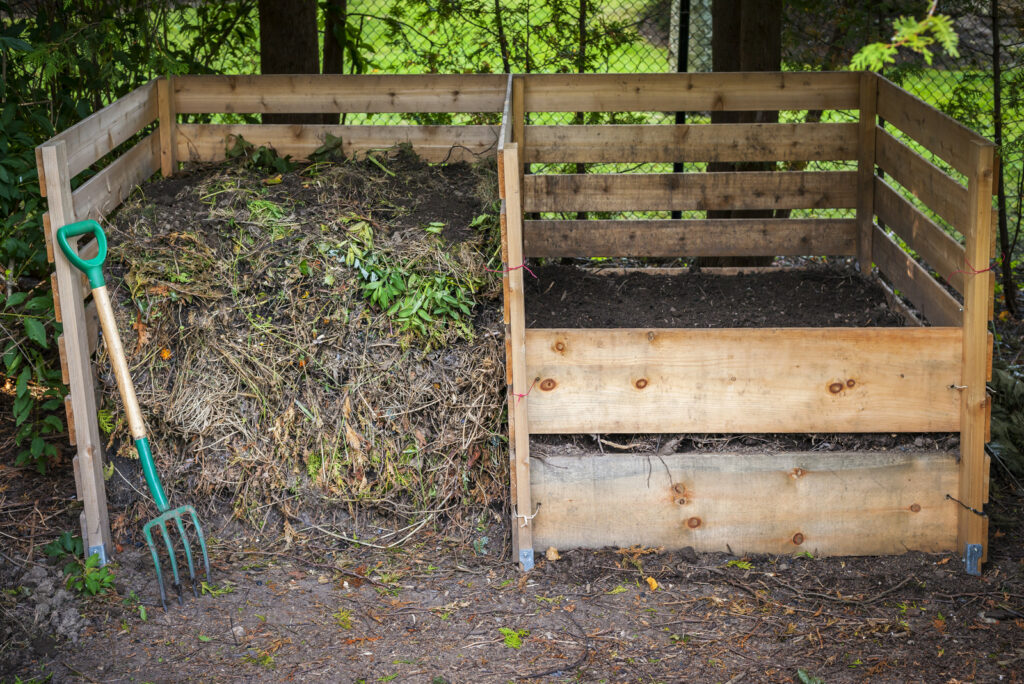
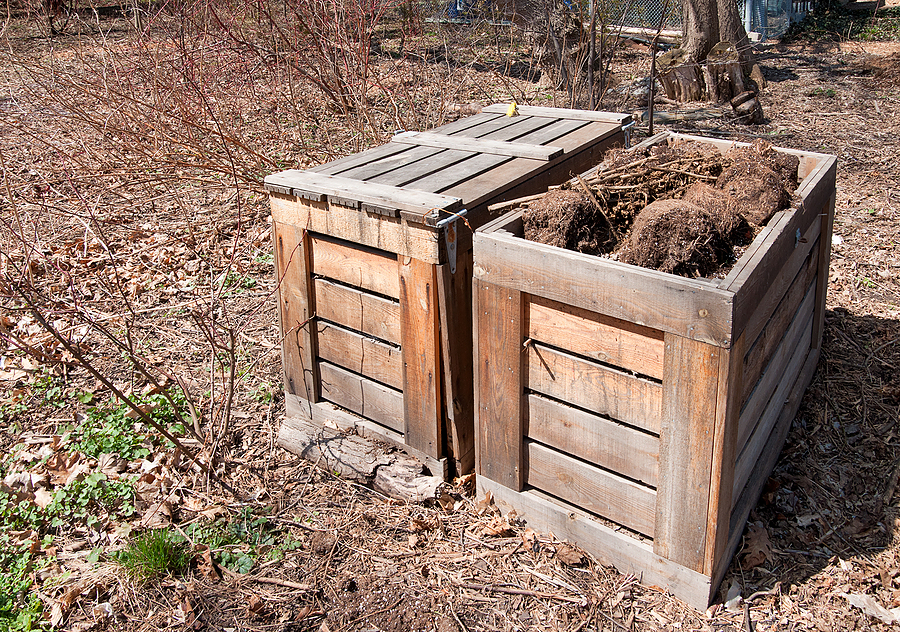
• A compost bin can be square or round. It can be made out of lumber, chicken wire, hardware cloth, concrete blocks, or bales of hay. You can use a simple wooden box leaving space between the sideboards. (Do not use pressure-treated wood or wood treated with toxic preservatives.)
• You make a compost bin out of four wood frames covered with chicken wire and latched together to form a cube.
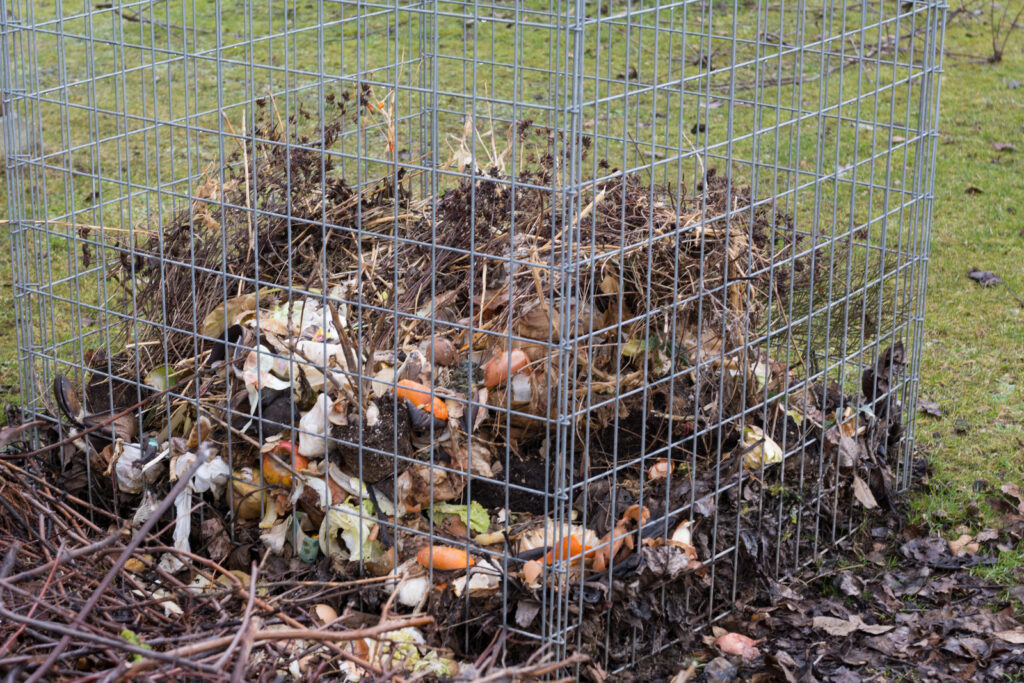
• You can use galvanized metal mesh or welded wire shaped like a cylinder and staked in place.
• You can make a square or rectangular bin out of stacked cinder blocks. Omit a few blocks on each side for aeration.
• You can use a steel drum with dozens of large holes punched in the side so that the external surface is about half and half holes to solid matter.
Fine-tuning your bin design
• If you make one side of the bin removable you will have easier access to the material you are composting. Try to leave at least half as much open air space to the outside as solid material used to enclose the compost pile. Line the bin with ¼- to ½-inch mesh or hardware cloth if you are worried about compost falling out.
• You can use a double or triple bin system: one bin to hold new refuse, a second bin to hold partially decomposed material, and a third to hold finished compost. In this system, composting material is forked from one bin to the next as composting progress.
• If you do not use a transfer system, you can turn a single pile or bin with a garden fork. Fork the material on the outside of the pile to the inside and the inside material to the outside to speed up composting. (The real composting takes place at the center of the pile.)
• A free-standing compost pile is just as effective as a bin. Situate the free-standing pile on a level, well-draining soil, or compost in a trench or pit in the garden. Gently slope the pile upwards as you add material.
Size of a compost bin
• A compost bin or free-standing pile should be a minimum of 3 feet (.9m) in each dimension; 4 feet (1.2m) in each dimension is better, and 5 feet (1.5m) in each dimension is best. Composting is accomplished most quickly when the pile runs “hot,” when the ingredients of the pile, moisture, air, and the microorganisms in the pile combine to heat the interior of the pile to 130°F (54°C) or more. (The heat is generated by the work of the living microorganisms. Large piles heat more quickly; this is called “hot” composting.) A smaller, cooler, or “cold” compost pile will still produce finished compost, but the process takes more time.
Commercial compost bins
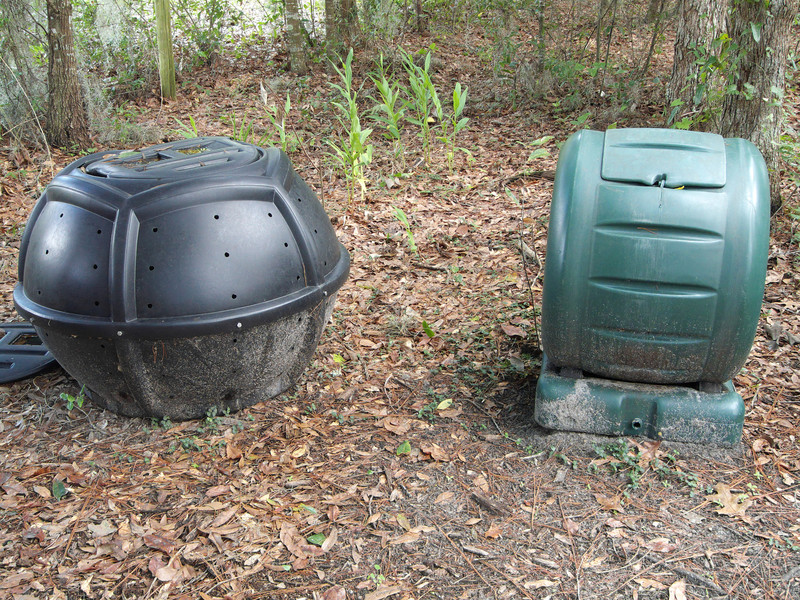
• If a homemade compost bin sounds too homemade, you can use a commercial wood, wire, or plastic bin. Commercial bins are not likely to speed the composting process but they look good. Most commercial bins are specially designed to allow the compost to be extracted from the bottom of the bin without disturbing the rotting compost at the top. If you choose a rotating or tumbling bin, be sure it is easy to turn when full; wet compost is very heavy.
How to start composting
• Start the compost pile with a fibrous material on the bottom: shredded leaves, straw, hay, corn husks, or the like. On top of the first layer place an inch (2.5cm) or two of garden soil or cow or horse manure. Then begin adding the second layer of compostable organic material; almost anything that was once alive can be composted.
• From the kitchen you can compost carrot and other vegetable shavings, fruit peels, citrus pulp and rinds, cooked and uncooked vegetables, corn cobs, stale bread, eggshells, coffee grounds, tea bags, and shredded newspaper.
• From the garden you can compost fresh and dried leaves, prunings and hedge trimmings, weeds without seeds, nutshells, grass clippings, dead plants, sawdust, wood chips, and cow and horse manure.
• Do not compost high protein items such as meat, poultry, fish, grease and fat, dairy products, or dog or cat litter. These will attract scavengers–mice and vermin, dogs, cats, and raccoons. (If animals get into the compost pile, enclose it with fine mesh fencing.) And don’t compost diseased or insect-infested plants, weeds that have gone to seed, poisonous plants, toxic chemicals, or chemical fertilizers.
• Add to the pile a layer at a time; add 9 to 12 inches (22-30cm) of waste and top each layer with 2 inches (5cm) of soil or fresh manure (these contain more microorganisms). Tamp down each layer and give it a light soaking before adding the next layer. Repeat these layers until the bin is full–to about 4 or 5 feet (1.2-1.5m) high. Layering mixes different types of refuse and allows air to circulate through the compost.
• The ideal compost pile will contain both brown and yellow dry, coarse refuse such as dried leaves, straw, and small wood chips and green refuse such as grass clipping, fresh leaves, and kitchen scraps.
• Brown carbon-rich refuse supplies energy to decomposers working in the pile–mostly microorganisms such as bacteria, fungi, and yeasts, and larger organisms such as worms and insects.
• Green nitrogen-rich refuse provides protein to decomposers which allows them to grow and divide. Roughly equal parts browns and greens will speed composting.
• Keep the pile moist but not wet; this will aid decomposition. Moisten the pile with water every 2 weeks making sure it does not go dry. Make the top of the compost pile slightly concave so that water can penetrate.
When compost is finished
• After several weeks, the pile will have shrunk to one-third its original size. After this turn the pile every 6 weeks to that the rotted material on the inside will be on the outside and the material on the outside will be inside where it can decompose more quickly. Turning the pile moves material on the outside to the hot center. If you use two compost bins, transfer the contents to a second bin mixing the contents thoroughly. (Turning a compost pile is not required but unturned materials can take a year or more to decompose.)
• Cover the bin with a tarp or plastic lid so that rain does not soak the pile and slow composting. (The pile should be moist, not wet.)
• Materials are added to the top of the bin or pile and compost is removed from the bottom. Air should be able to penetrate the bin to allow microorganisms such as bacteria and fungi to thrive and help accomplish the composting.
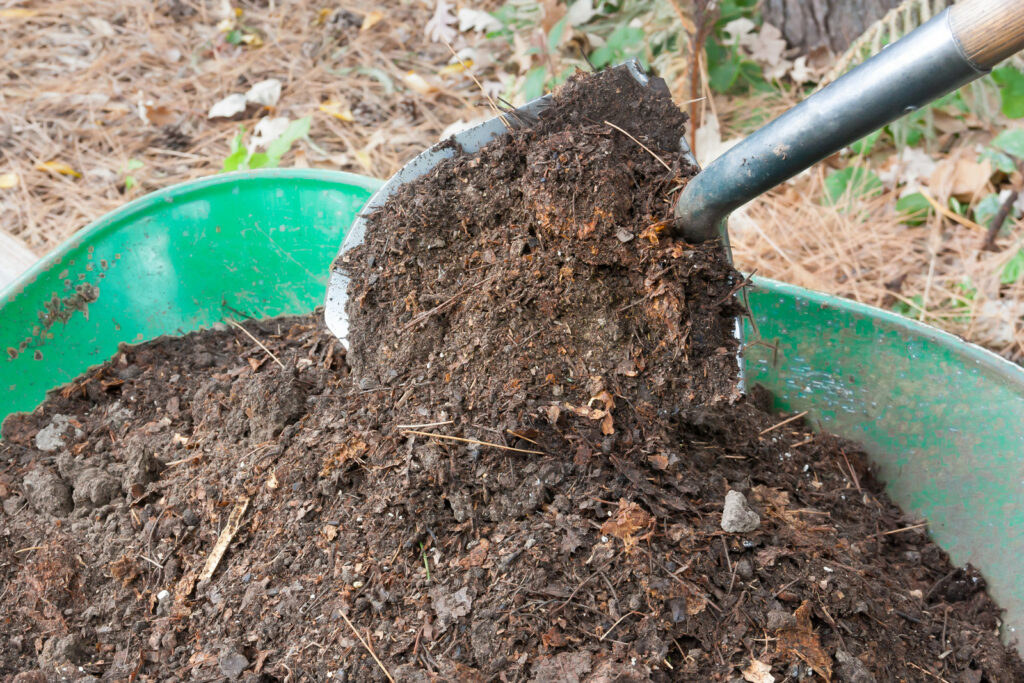
• Compost is ready to use when the starting materials have decomposed beyond recognition and become deep brown or black colored and crumbly textured. This process can take 3 to 6 months; quicker in warm weather, slower in cool weather.
• Finished compost is good for the garden; it both builds and feeds the soil. Spread your compost as a garden mulch topdressing 2 ½ gallons (9 liters) of compost to each square yard of the garden.
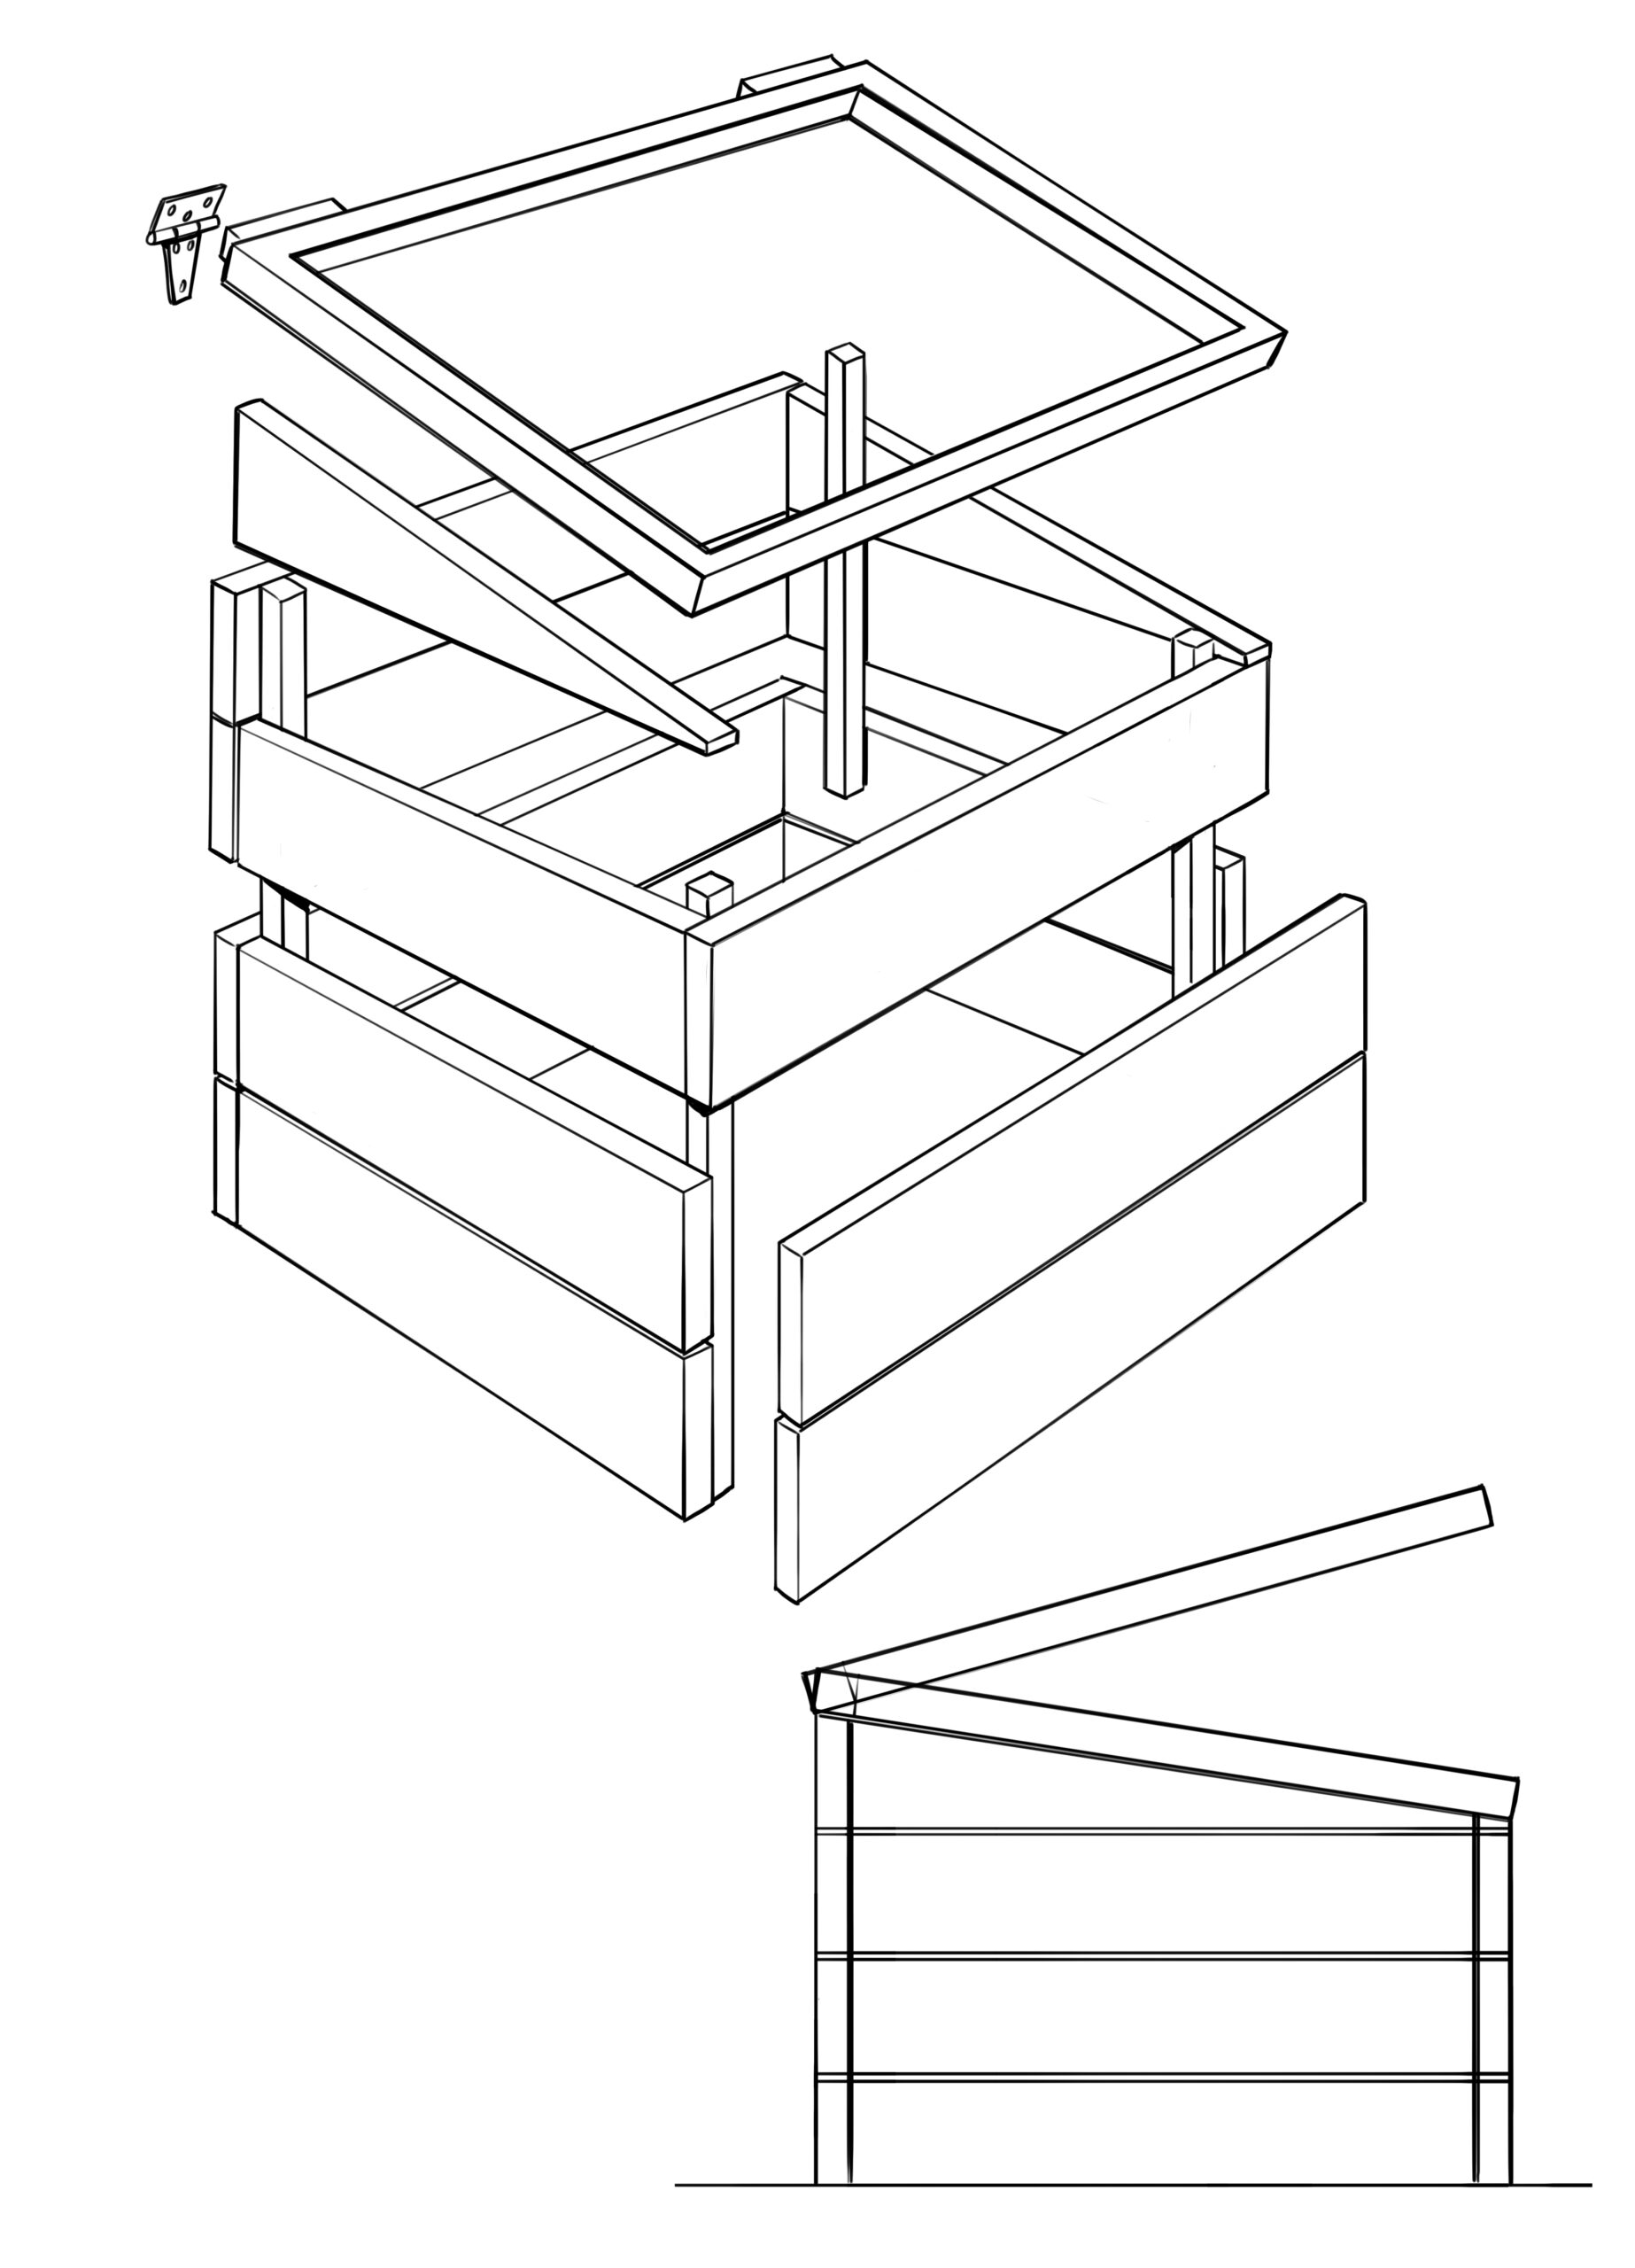
Compost bin/cold frame illustration
This illustration shows how you can build a compost bin. (Also, you can use the top third of this illustration to design and build a cold frame.)
A compost bin should be at least 3 x 3 x 3 feet—this will ensure a compost pile with enough mass to generate the heat needed to decompose the greens and browns you throw in.
The flip-open top can be solid or slats to keep rain from soaking the contents. If you use the top third of the illustration to build a cold frame, the flip-open top can be framed plexiglass or double layer of clear plastic sheeting stretched across the lid.
Cedar is the best choice for a wooden compost bin. Cedar will resist rotting for many years. Just cut the front, back, and pieces to equal lengths—whatever you decide. Use galvanized hinges and deck screws to put it all together.
Also of interest:
Organic Fertilizers and Soil Amendments