Plants in containers need the same attention and care you give plants in the garden. Container garden plants need regular watering and feeding, perhaps a bit more than garden plants since the room they have for root growth is limited.
Here are container garden care basics:
Watering container plantings
- Keep containers well-watered; do not let them dry out and, conversely, do not let plants sit in water.
- Pots tend to dry out quickly especially in warm weather. Poke a finger in the soil to a half-inch deep to check soil moisture. Water to keep the soil moist.
- Drainage is important for plants growing in containers. If water runs through the container quickly when you water the soil may be dry. If water fills the saucer or tray below the container after several minutes, the soil may be too wet.
- One watering strategy is to water a plant from the bottom; that is fill the saucer or tray with water and let the soil wick up the water that it needs. Set the container in the saucer full of water for 30 minutes; if the saucer is dry in 30 minutes add more water and wait another 30 minutes. If water is sitting in the saucer after 30 minutes, the soil is moist; drain the saucer and water again in a day or two.
- In hot weather when containers dry out quickly, move the container to a location where it gets morning sun but not midday sun—this would be the east or north side of a building; the move should slow soil-moisture evaporation.
- If water regularly runs through the container quickly; the plant may be rootbound; there may be more roots in the pot than soil. Gently slip the plant from the pot and check the roots. If the plant is rootbound, pot it up into the next size container adding new soil. There should be enough soil in a container to hold moisture for roots.
- If you have many containers, you may want to set up a drip irrigation system designed for containers. Drip emitters can be connected to tubes running from a water supply line. You can connect the supply line to a timer and pressure regulator attached to a hose bibb. There are drip irrigation systems designed especially for containers; they are easily assembled and disassembled as needed.
- Water-retaining crystals can be added to container soil; these crystals soak up water and provide a reserve of moisture when the soil becomes dry.
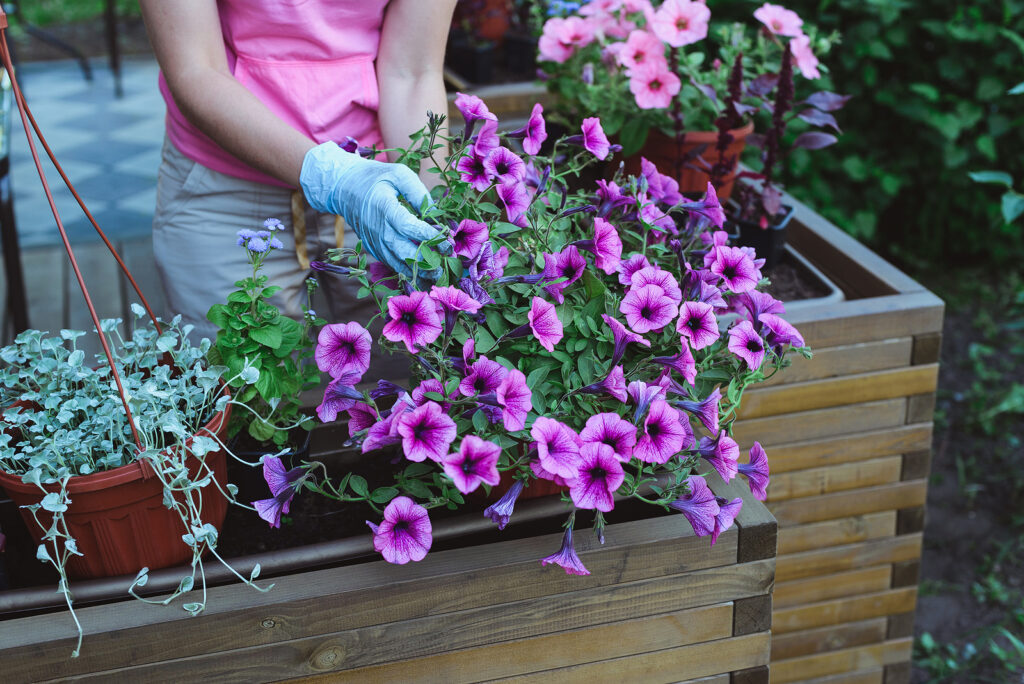
Fertilizing plants in containers
- Plants in containers must be well fertilized. Start with good potting soil; many potting soils have nutrients added (check the label). Potting soil should be loose and rich and free draining.
- Add a slow-release granular fertilizer to the soil at planting time if fertilizer is not included in the potting mix; this will feed plants for several weeks or even months. Check the label to know how often fertilizer should be replenished. Additional applications of slow-release granular fertilizers can be scratched into the soil as per package directions. Granular slow-release fertilizers can be supplemented by liquid fertilizing (see below).
- Fertilizer spikes and tablets can be used instead of granular fertilizer. Fertilizer spikes and tablets are also slow releases.
- Give plants in containers a liquid fertilizer every two to three weeks. You can do this in addition to the slow-release fertilizer added at planting time. Liquid fertilizers are applied as a solution with water; they are delivered when the plant is watered. Some liquid fertilizers can be applied as foliar sprays.
Combatting pests and disease
- Make every effort to keep pests and diseases away from container-grown plants. The confined space of a pot can result in the quick spread of pests and disease.
- Check plants daily for any sign of pests or disease. Insects often shelter on the undersides of leaves; look there first. Spray early pest outbreaks with insecticidal soap; use stronger sprays if infestations persist.
- Plant diseases are easily spread by water. Water container growing plants at the base of the plant; avoid wetting leaves.
- Pesticides and disease treatments available for garden plants will work just as well on container-grown plants. Always test a pesticide or fungicide on a couple of leaves before spraying the entire plant.
Deadheading
- Deadheading means to remove spent flowers so the plant does not set seed. Plants that are deadheaded will often bloom two or three times.
- Remove spent flowers and dead leaves regularly to keep a plant blooming and to prevent the spread of pests or disease which often harbor in plant debris.
Rotating container plantings
- Container plantings can be seasonal—spring through autumn—in cold-winter regions or year-round in mild-winter regions.
- Cool-season annuals can be planted in spring about a month before the last frost date; spring annuals include pansies, violas, lobelia, and snapdragons. Spring-blooming bulbs can be planted in containers as well. Start each season with new potting soil and add slow-release fertilizer.
- Warm-season annuals can be planted in containers in late spring or early summer. Remove cool-season annuals and replace them with heat-loving annuals such as impatiens, petunias, vinca, and ageratum. Add new potting soil as needed and a slow-release fertilizer.
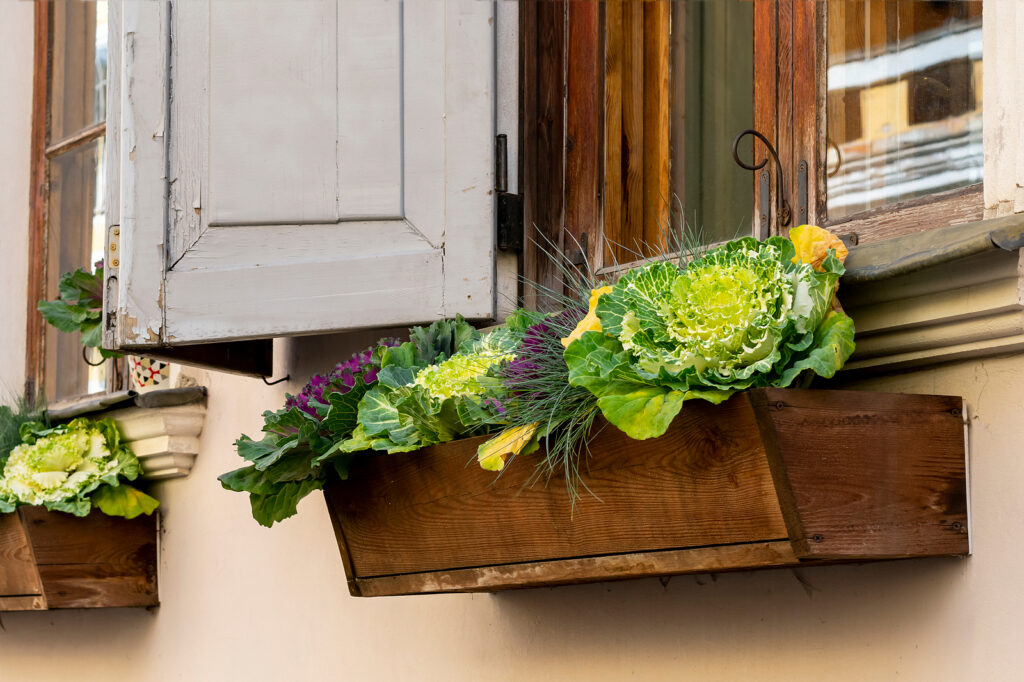
- In autumn, replace warm-season annuals with cold-loving annuals such as flowering cabbage or kale, mums, and pansies and violas again.
- Perennials can remain in pots throughout the year, but many perennials die back to the ground in winter so you may want to treat perennials as annuals and replace them from season to season.
Cold-climate container care
- Containers can remain outdoors in winter in relatively mild-winter regions. They must be emptied or moved indoors in cold-winter regions where freezing weather is sustained.
- In Zones 5 and colder, clay and plastic pots may freeze and shatter in winter. Move plants and containers indoors or empty the containers and store them indoors.
- Containers that are emptied should be cleaned ahead of storing. Hose off excess dirt and scrub the pot with hot, soapy water. Mix ¼ cup bleach into 1 gallon of water and swab the container; let it sit 10 minutes, then rinse again. Let the container air dry before storing it.
- An alternative to bringing container-growing plants indoors is to dig a hole or trench and bury the pot; the soil and surrounding material will insulate the pot and keep it from freezing. Top buried pots and plants with alternating layers of dry leaves and soil. Dig out pots in spring when the weather moderates.
Also of interest:
Choosing Plants for a Container


